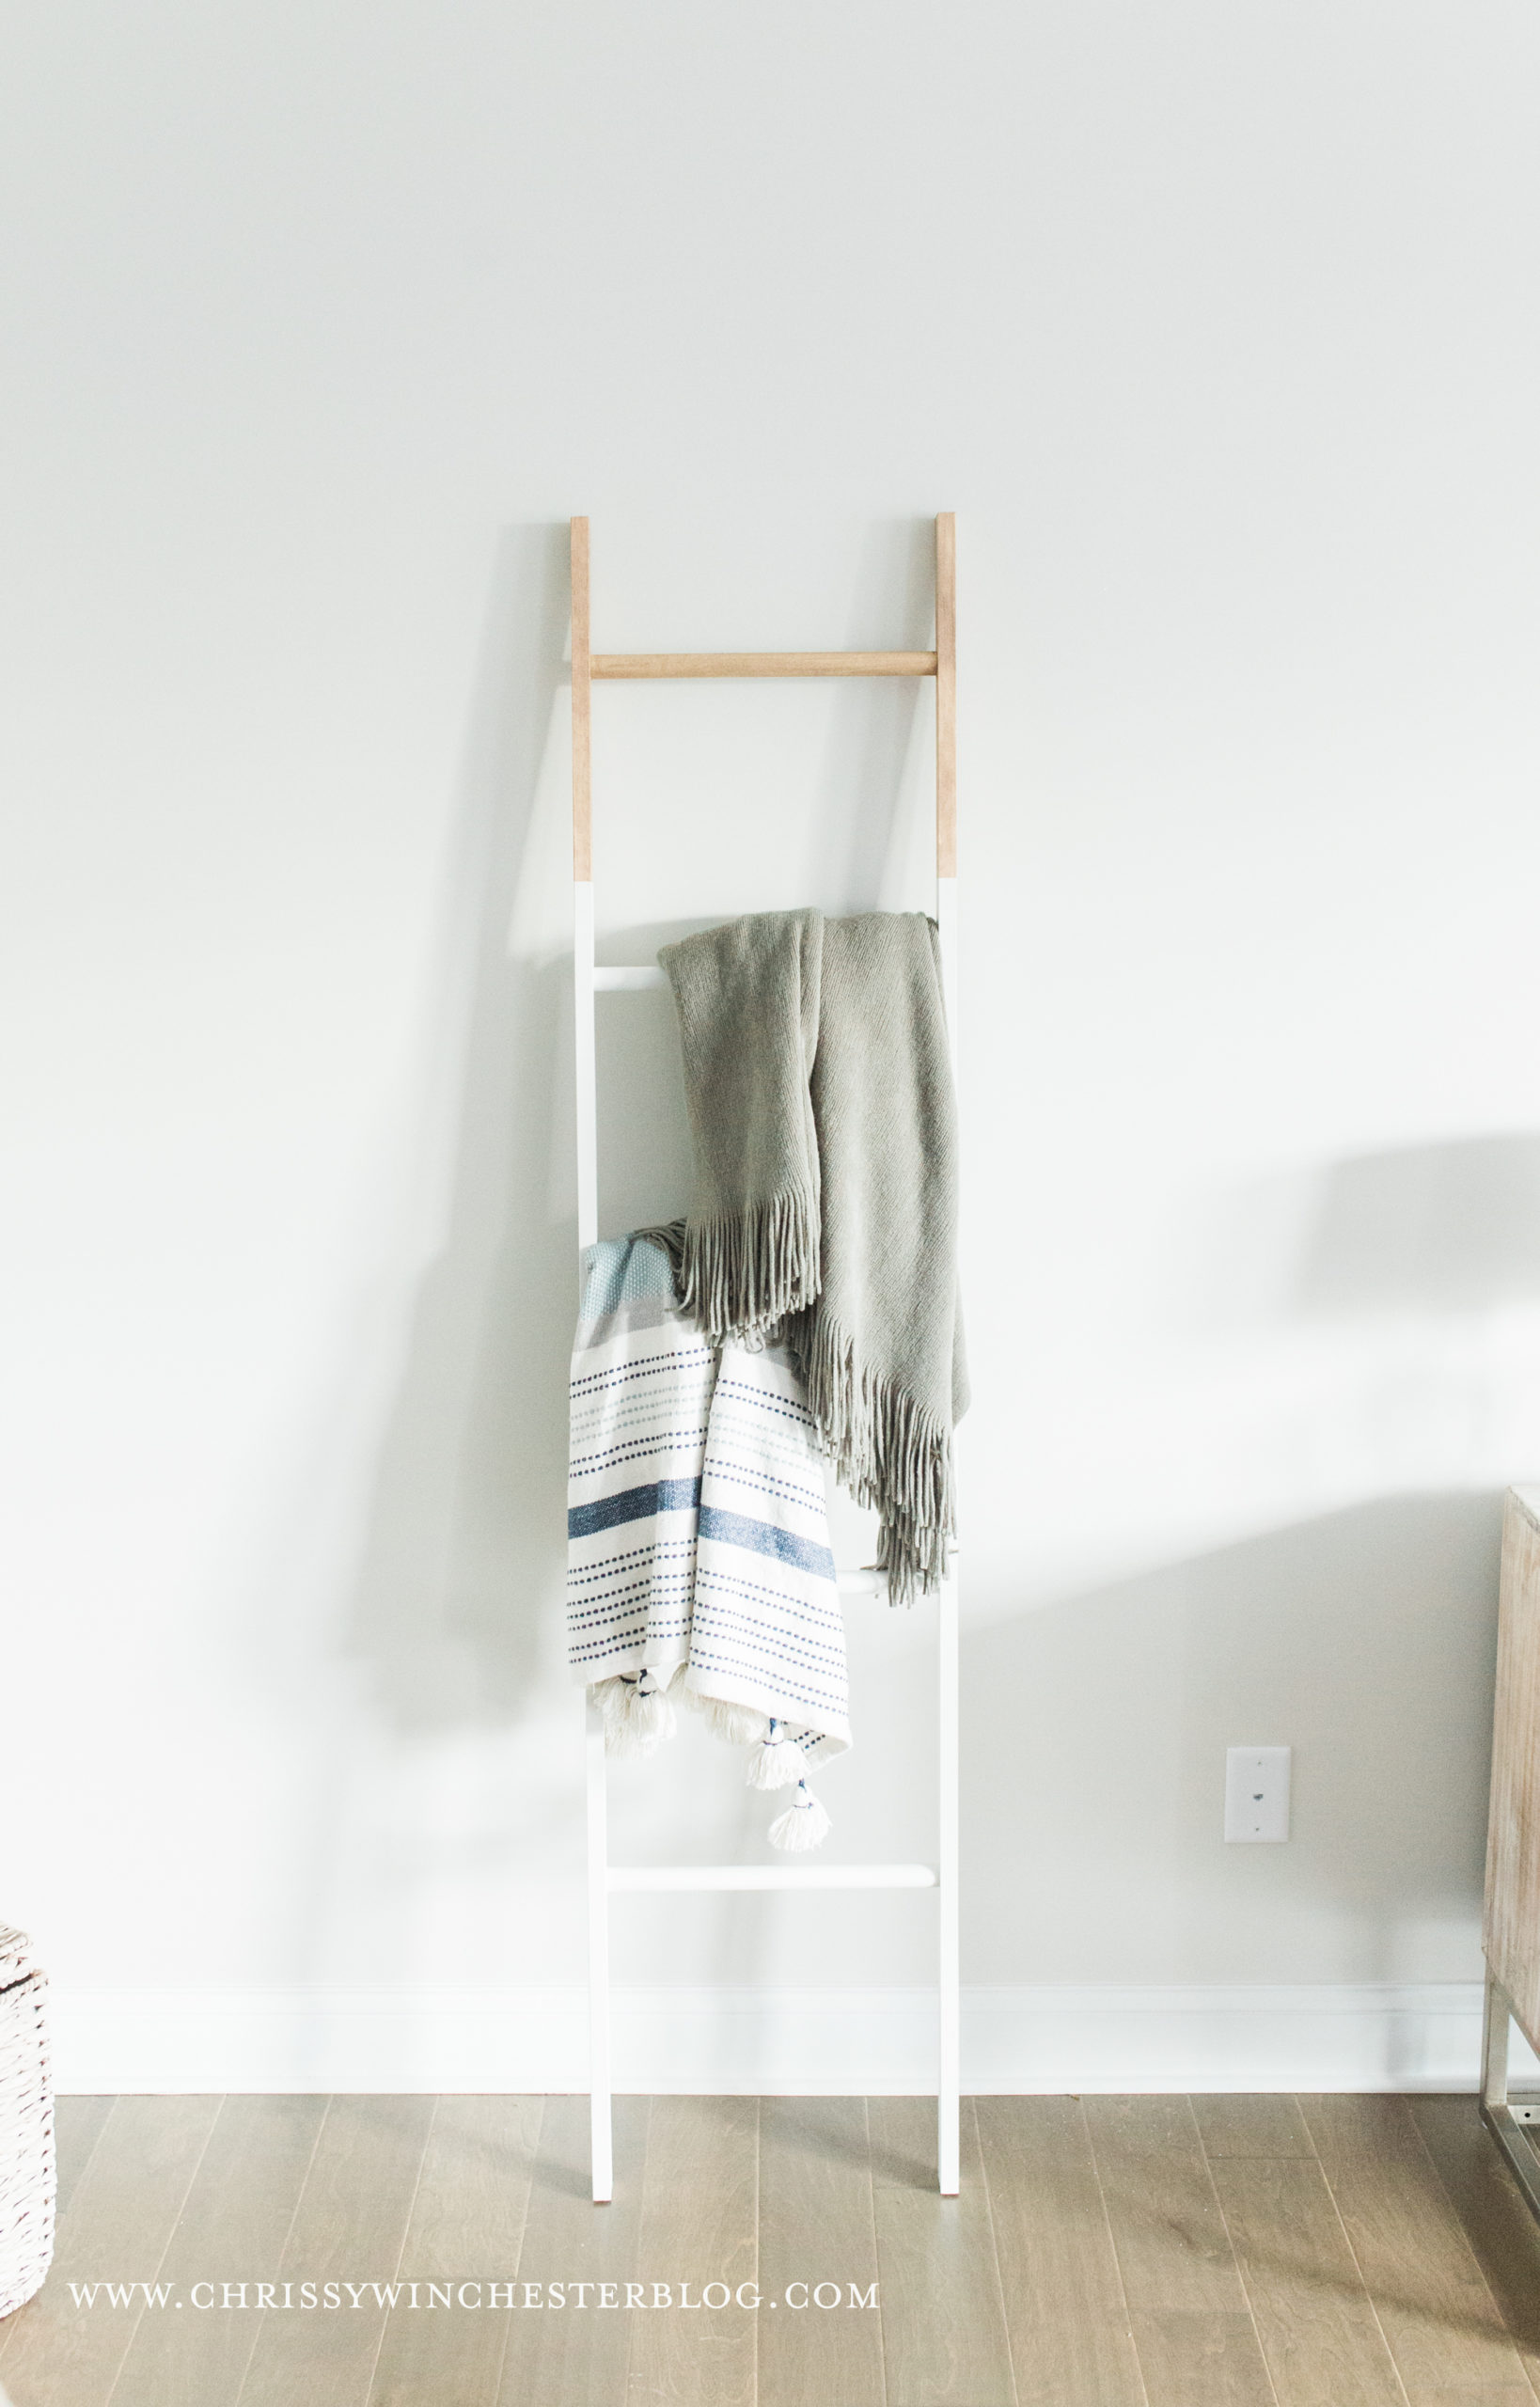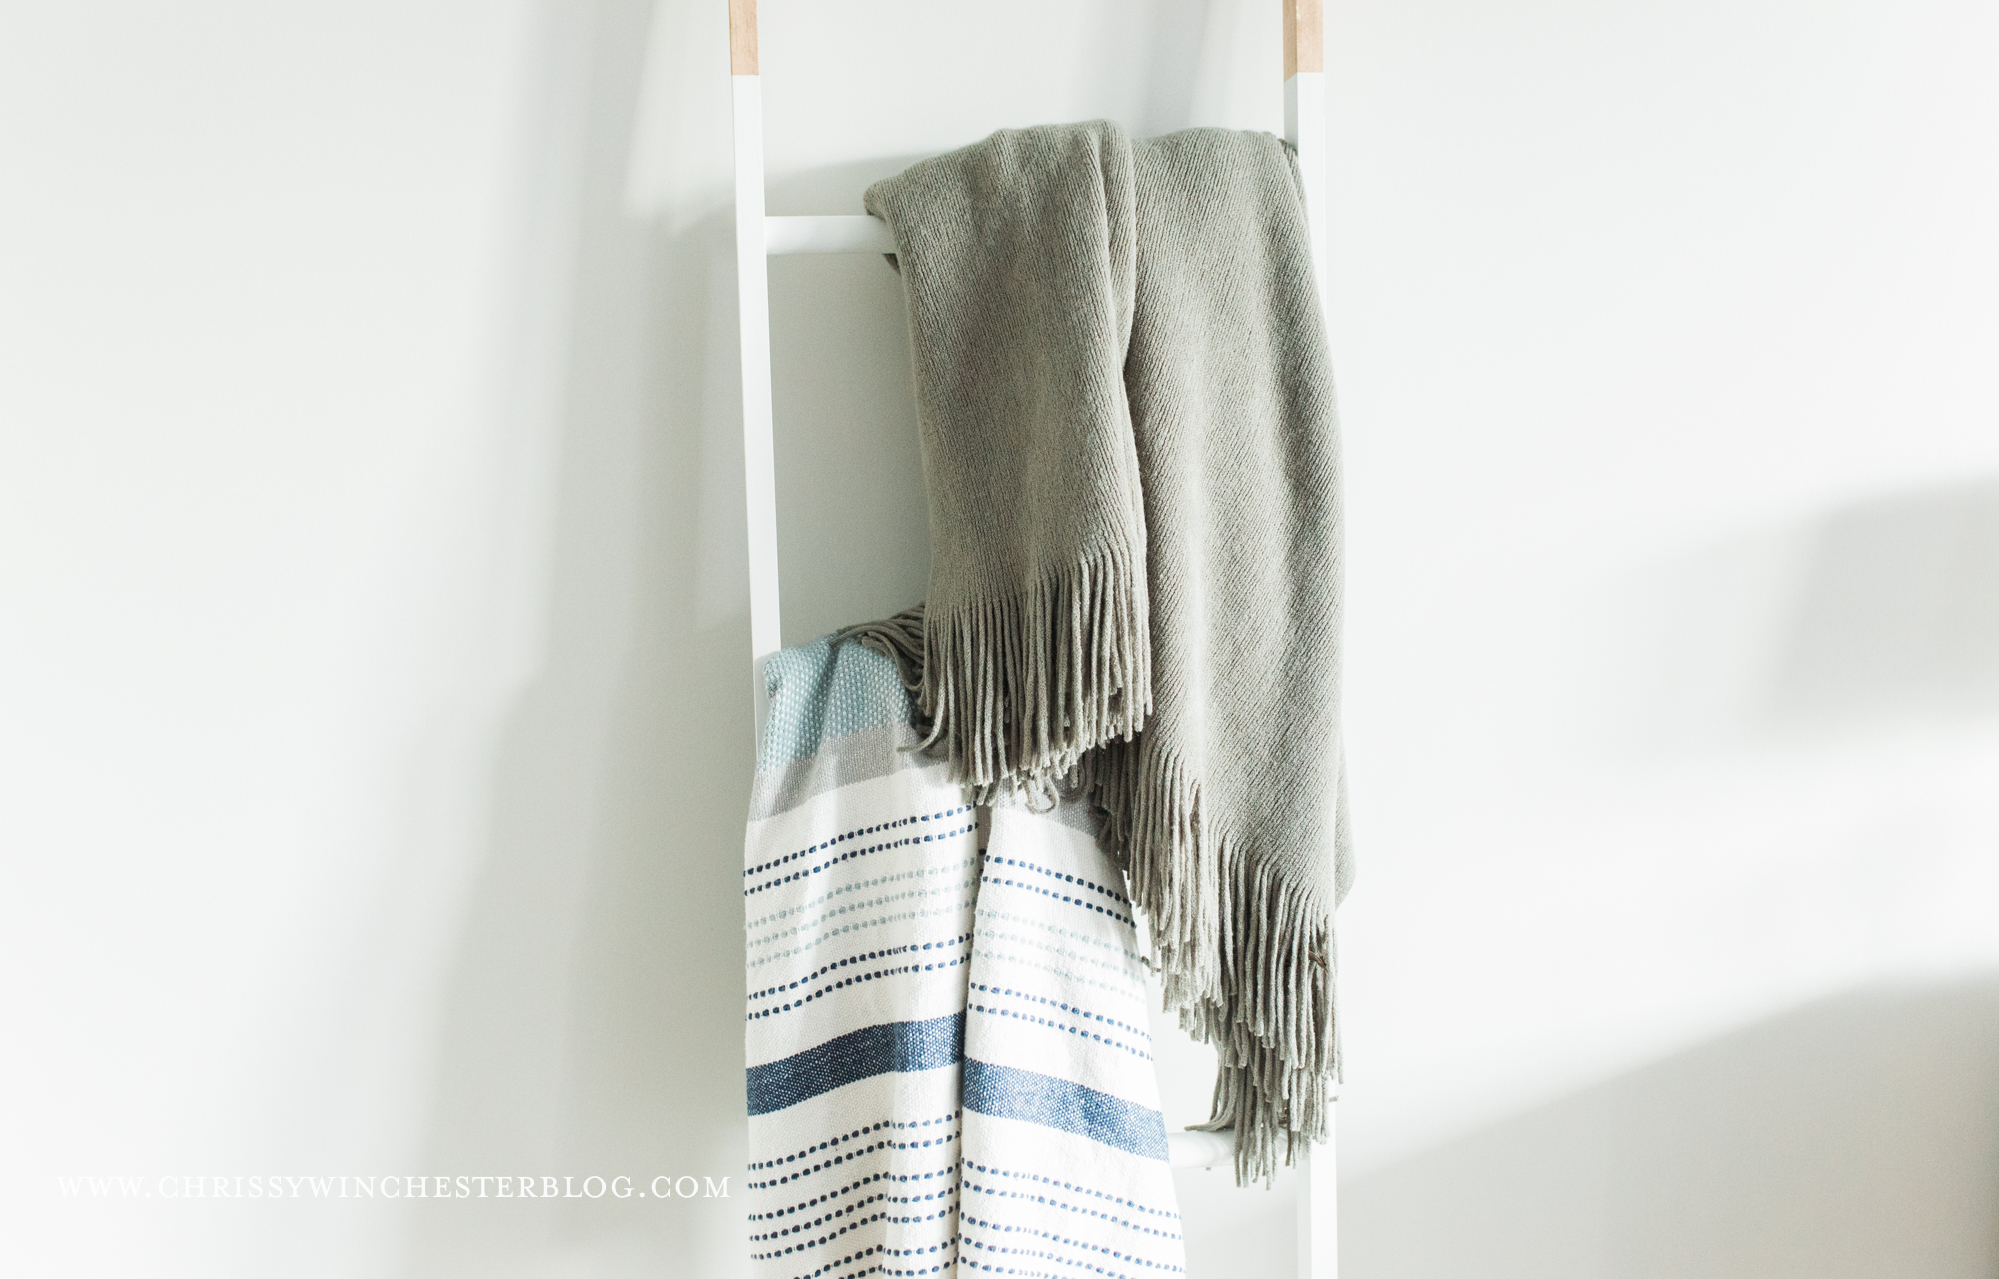
We’ve been up to lots of DIY projects around here. Luckily, most of them are fairly small, so we were able to get quite a few complete within a few weekends! This by far, was the easiest, which is a relief, because our last blanket ladder project was not as easy.
Our first go at making a blanket ladder was of the much chunkier style (we used 2x3s), and it was NOT as easy as we thought it would be. The screws wanted to twist the boards, it didn’t want to stand straight… and it may have been one of our first DIYs EVER, so it was just a bit of a hot mess!

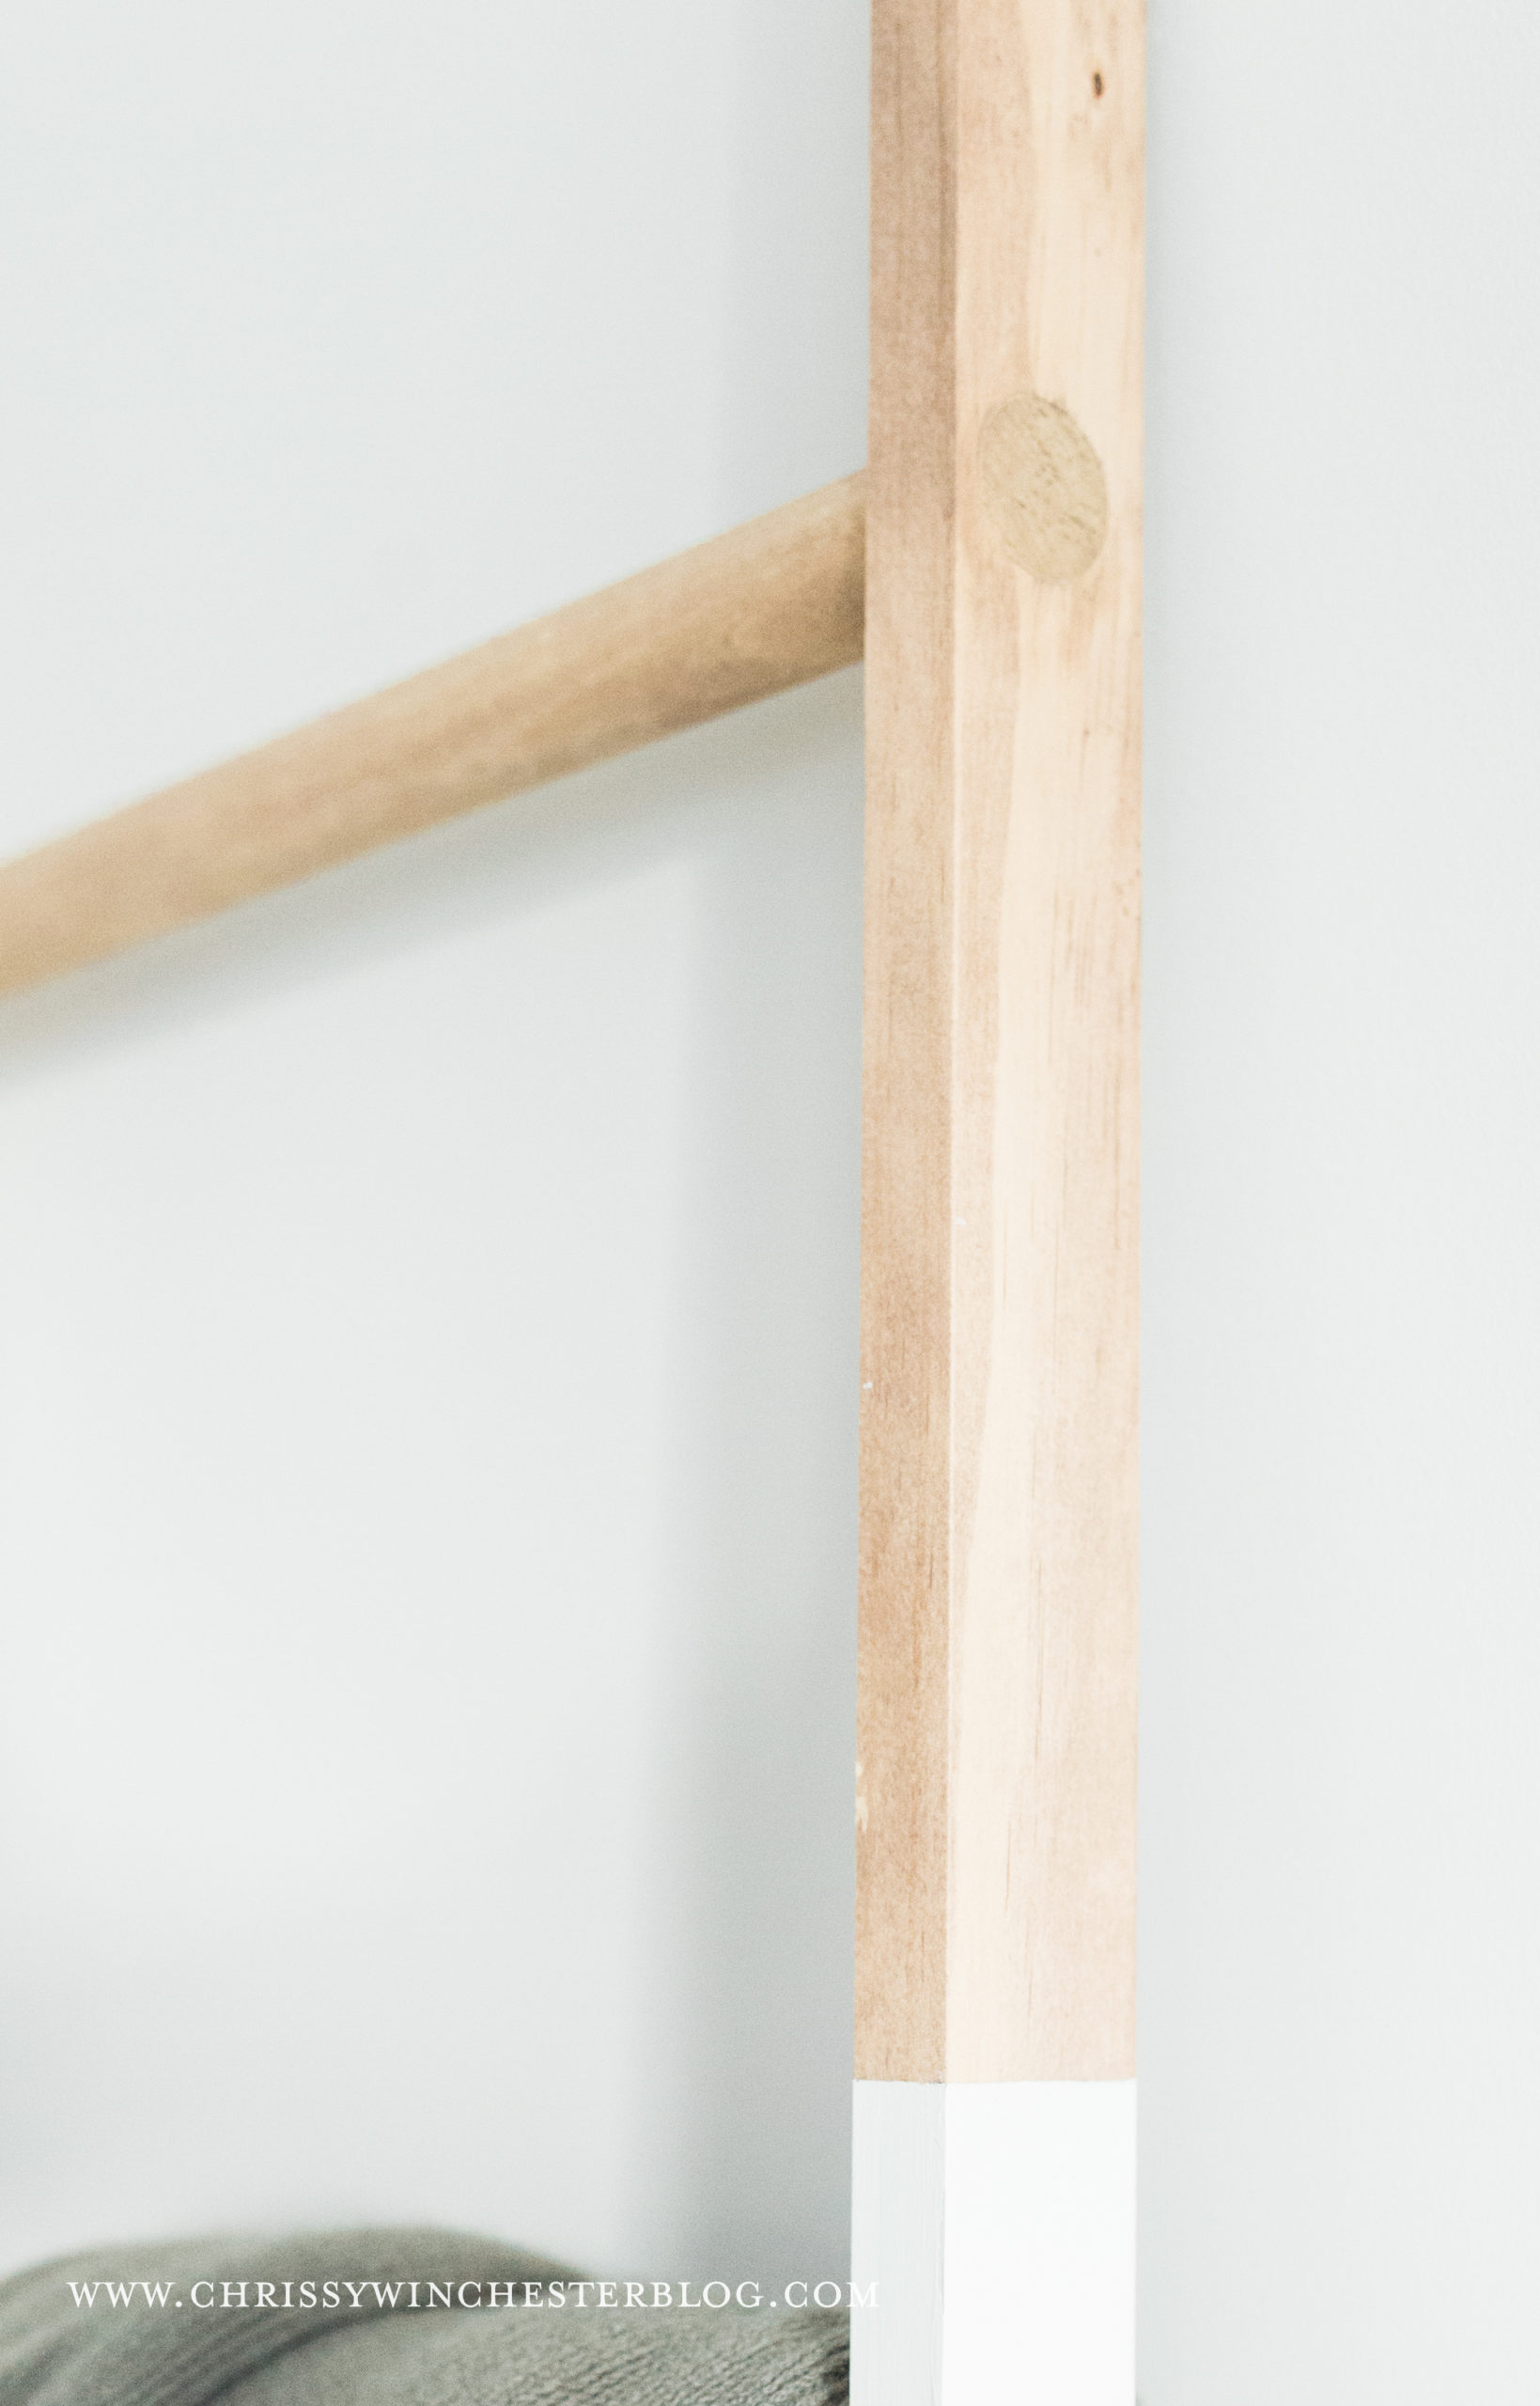
However, I was super pleased with the way this blanket ladder turned out! I was originally thinking I wanted to use 1x2s as the steps of the ladder, but then decided to do rods, and I LOVE the look of it, especially from the side, where it’s stained and you can see them.

So, here’s what you’ll need:
(2) 1x2s- we used 6′ ones and didn’t even have to cut them- score!
(3) 1″ rods- you may need a different quantity depending on how wide you want your ladder to be, what your store has in stock, and how many rungs you want.
How you build it:
1) We decided on spacing, first. As you can see, I didn’t space mine traditionally, as the top rung is closer to the top, rather than spaced evenly.
2) Once you decide on spacing, using a 1″ spade bit, drill into the 1x2s to allow for the rods to be placed.
3) Then, decide how wide you want the rungs to be, then cut your 1″ rods accordingly.
3) Once all holes are drilled, and the rods are cut, you’ll probably want to do a quick sand of everything.
4) After sanding is done, we used wood glue to help secure the rods in the holes.
5) Because I am a perfectionist, I then went back and wood filled around the rods, where there was space from the spade bit.
6) And because I like things to be seamless, I then used a palm sander to sand the sides of the ladder, making sure to make the rod/ladder sides look seamless.
