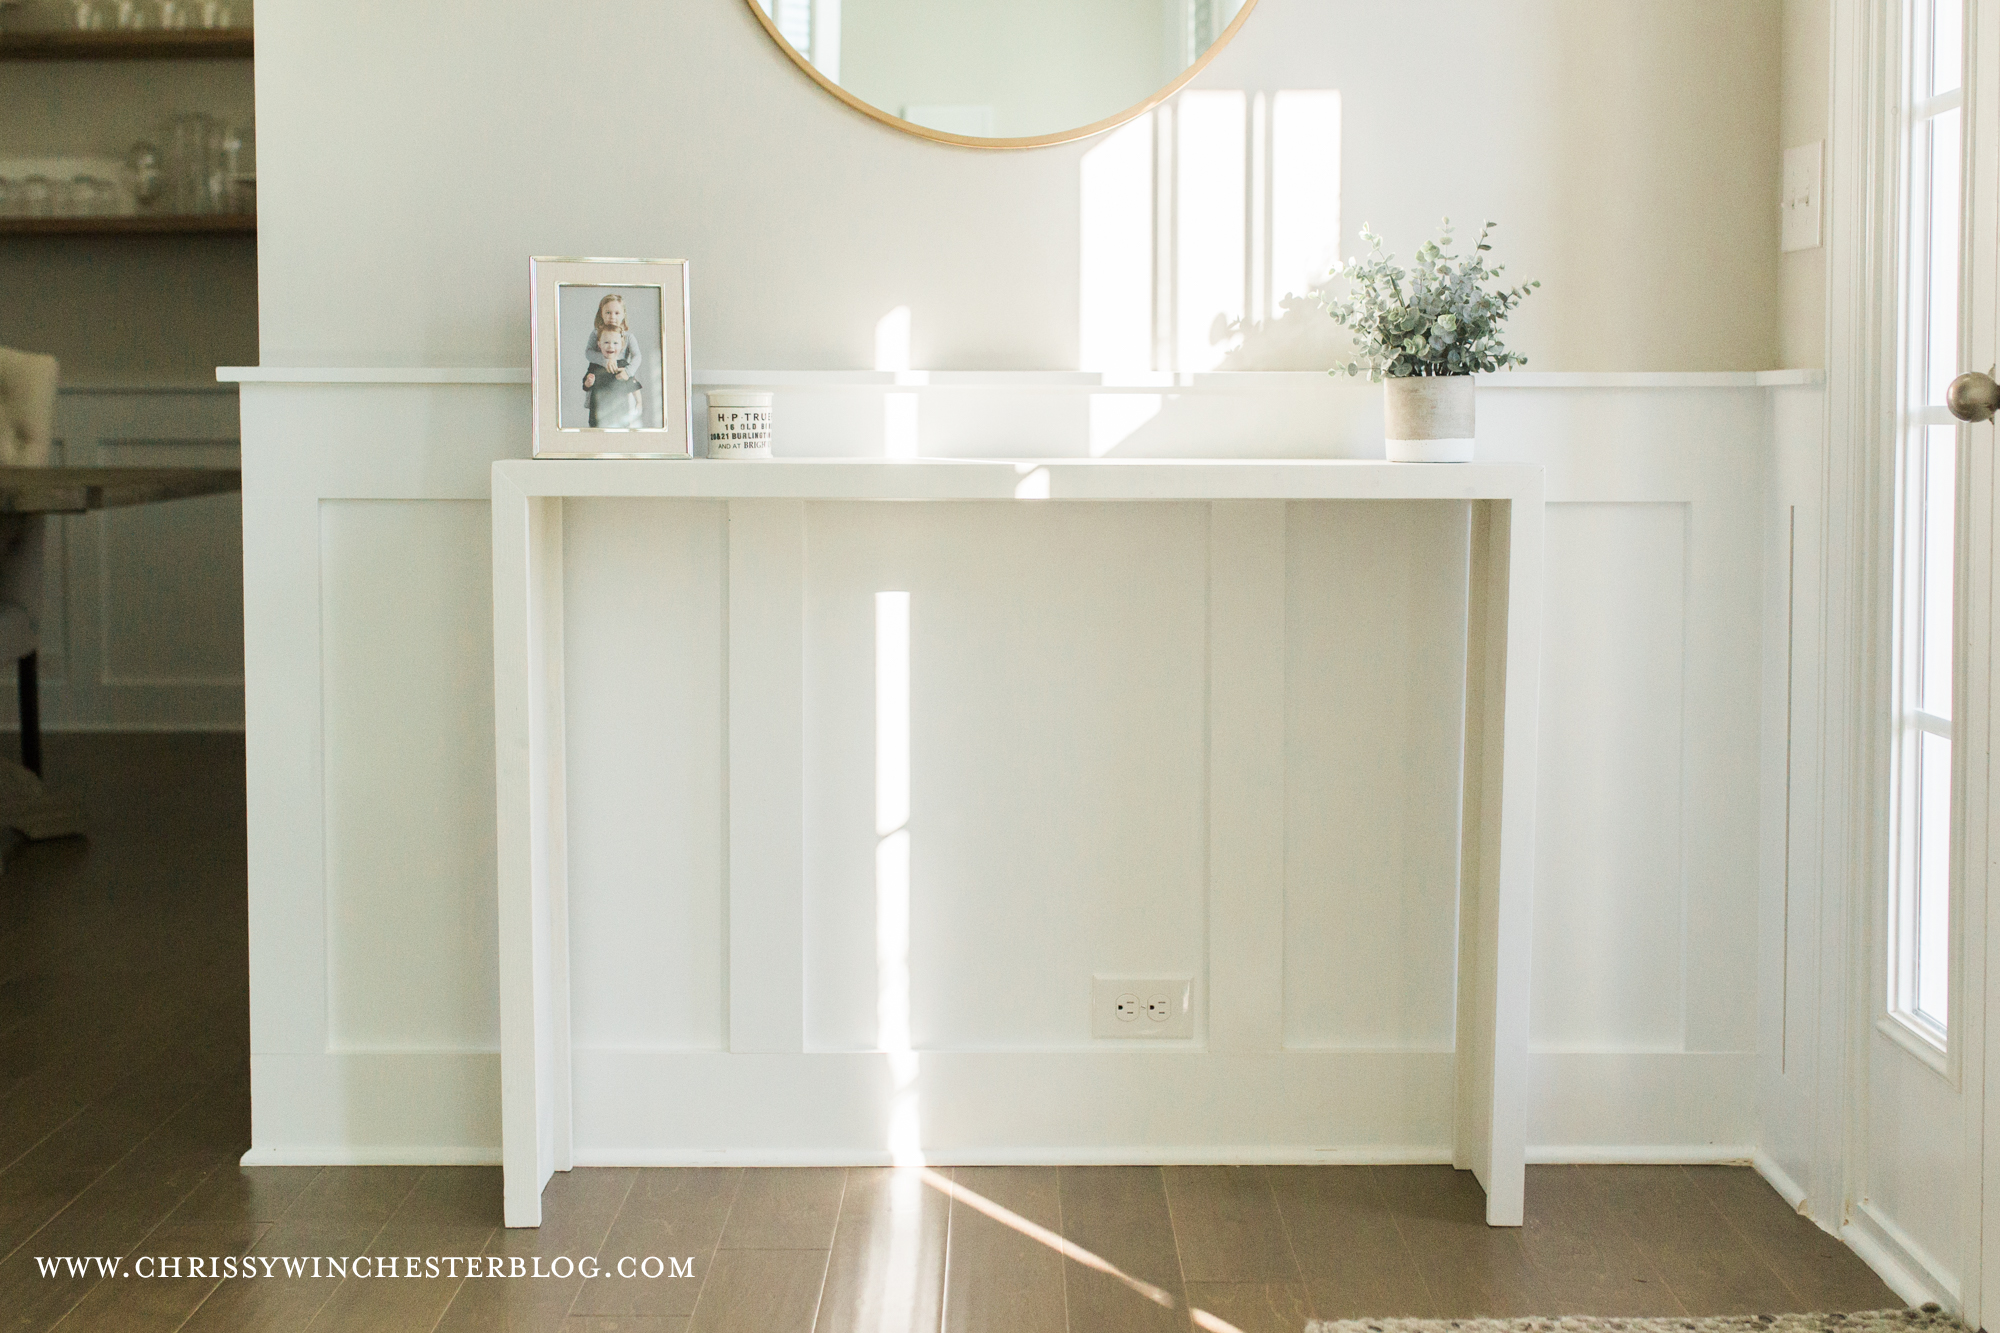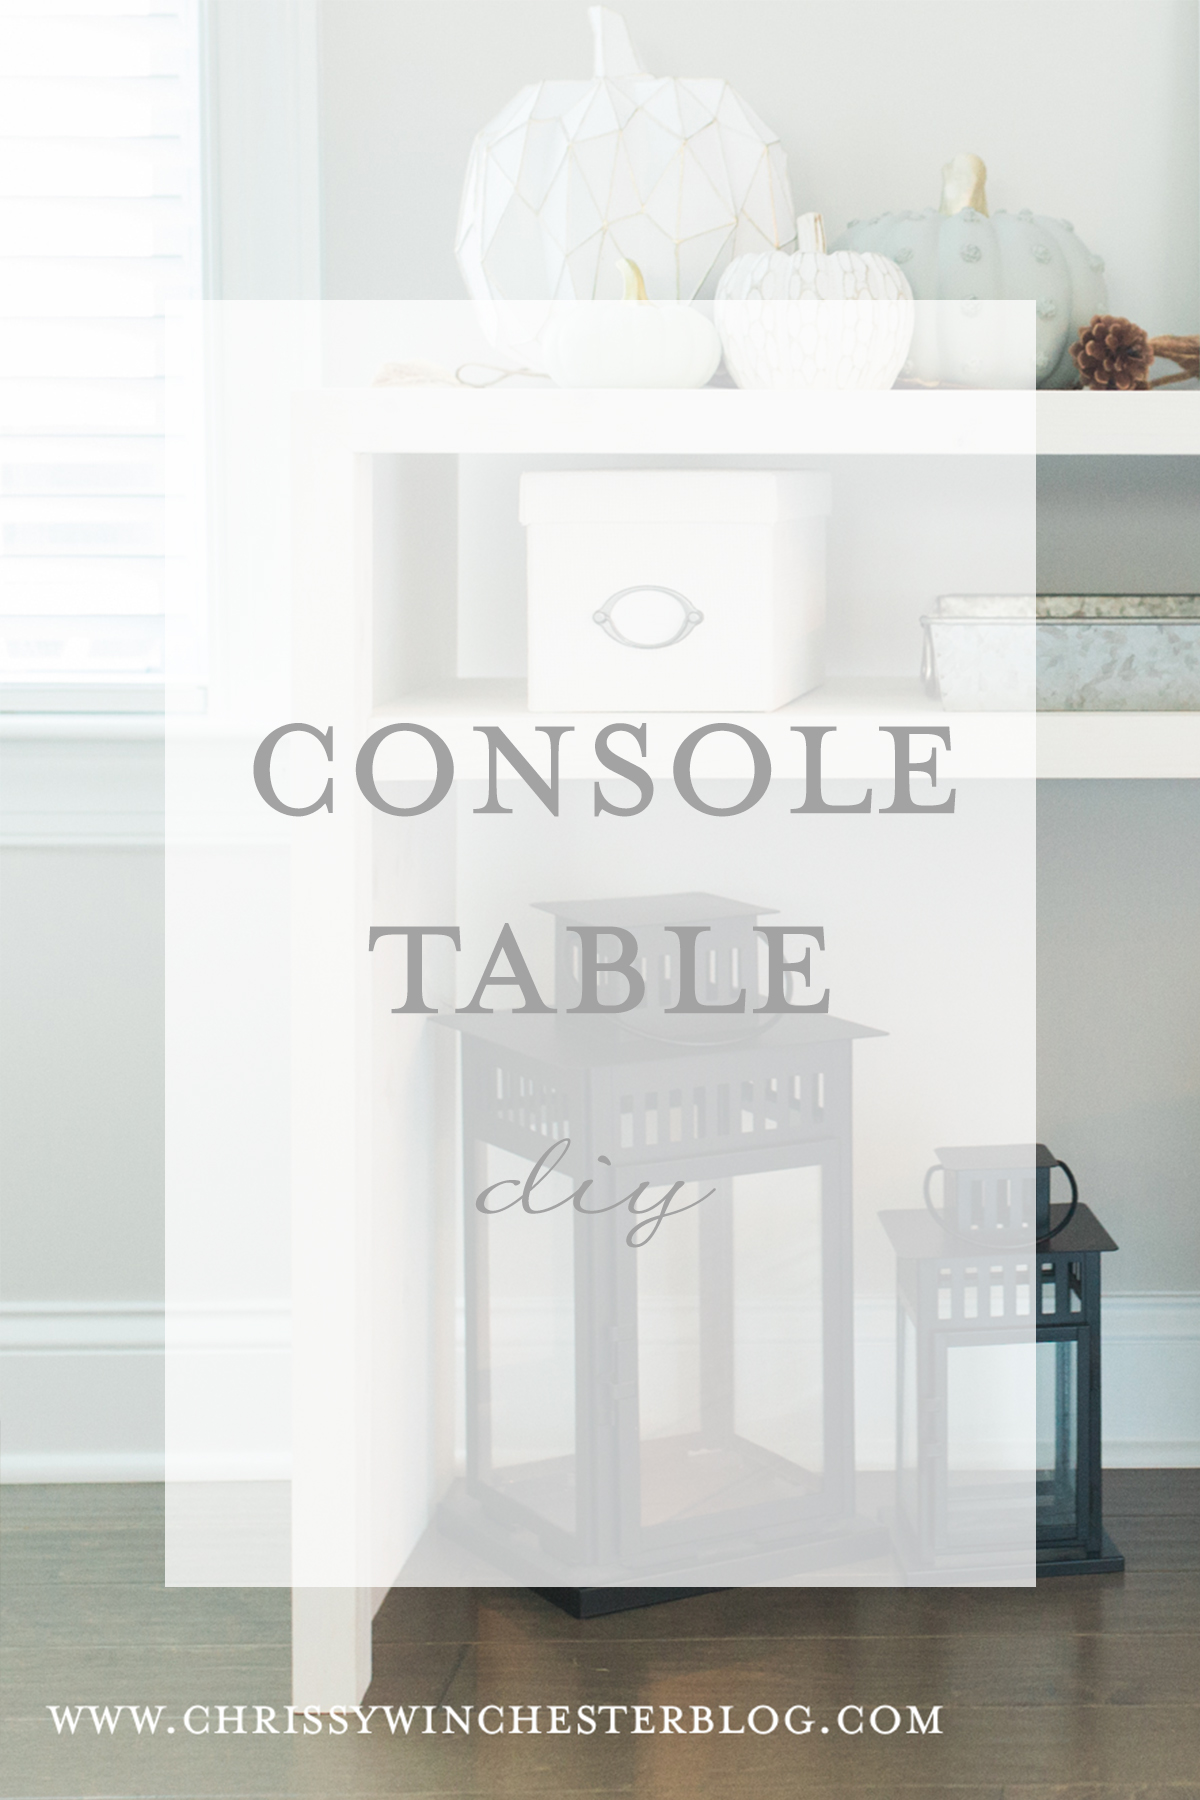
Happy Wednesday Friends! Today, I bring to you, a console table DIYx2. We have ALOT of wall space in the new house, and I knew I wanted a console table, but I was going to have to get REALLY lucky at HomeGoods (and likely spend $200+) or cough up a whole lotta cash for a table I liked from an online retailer.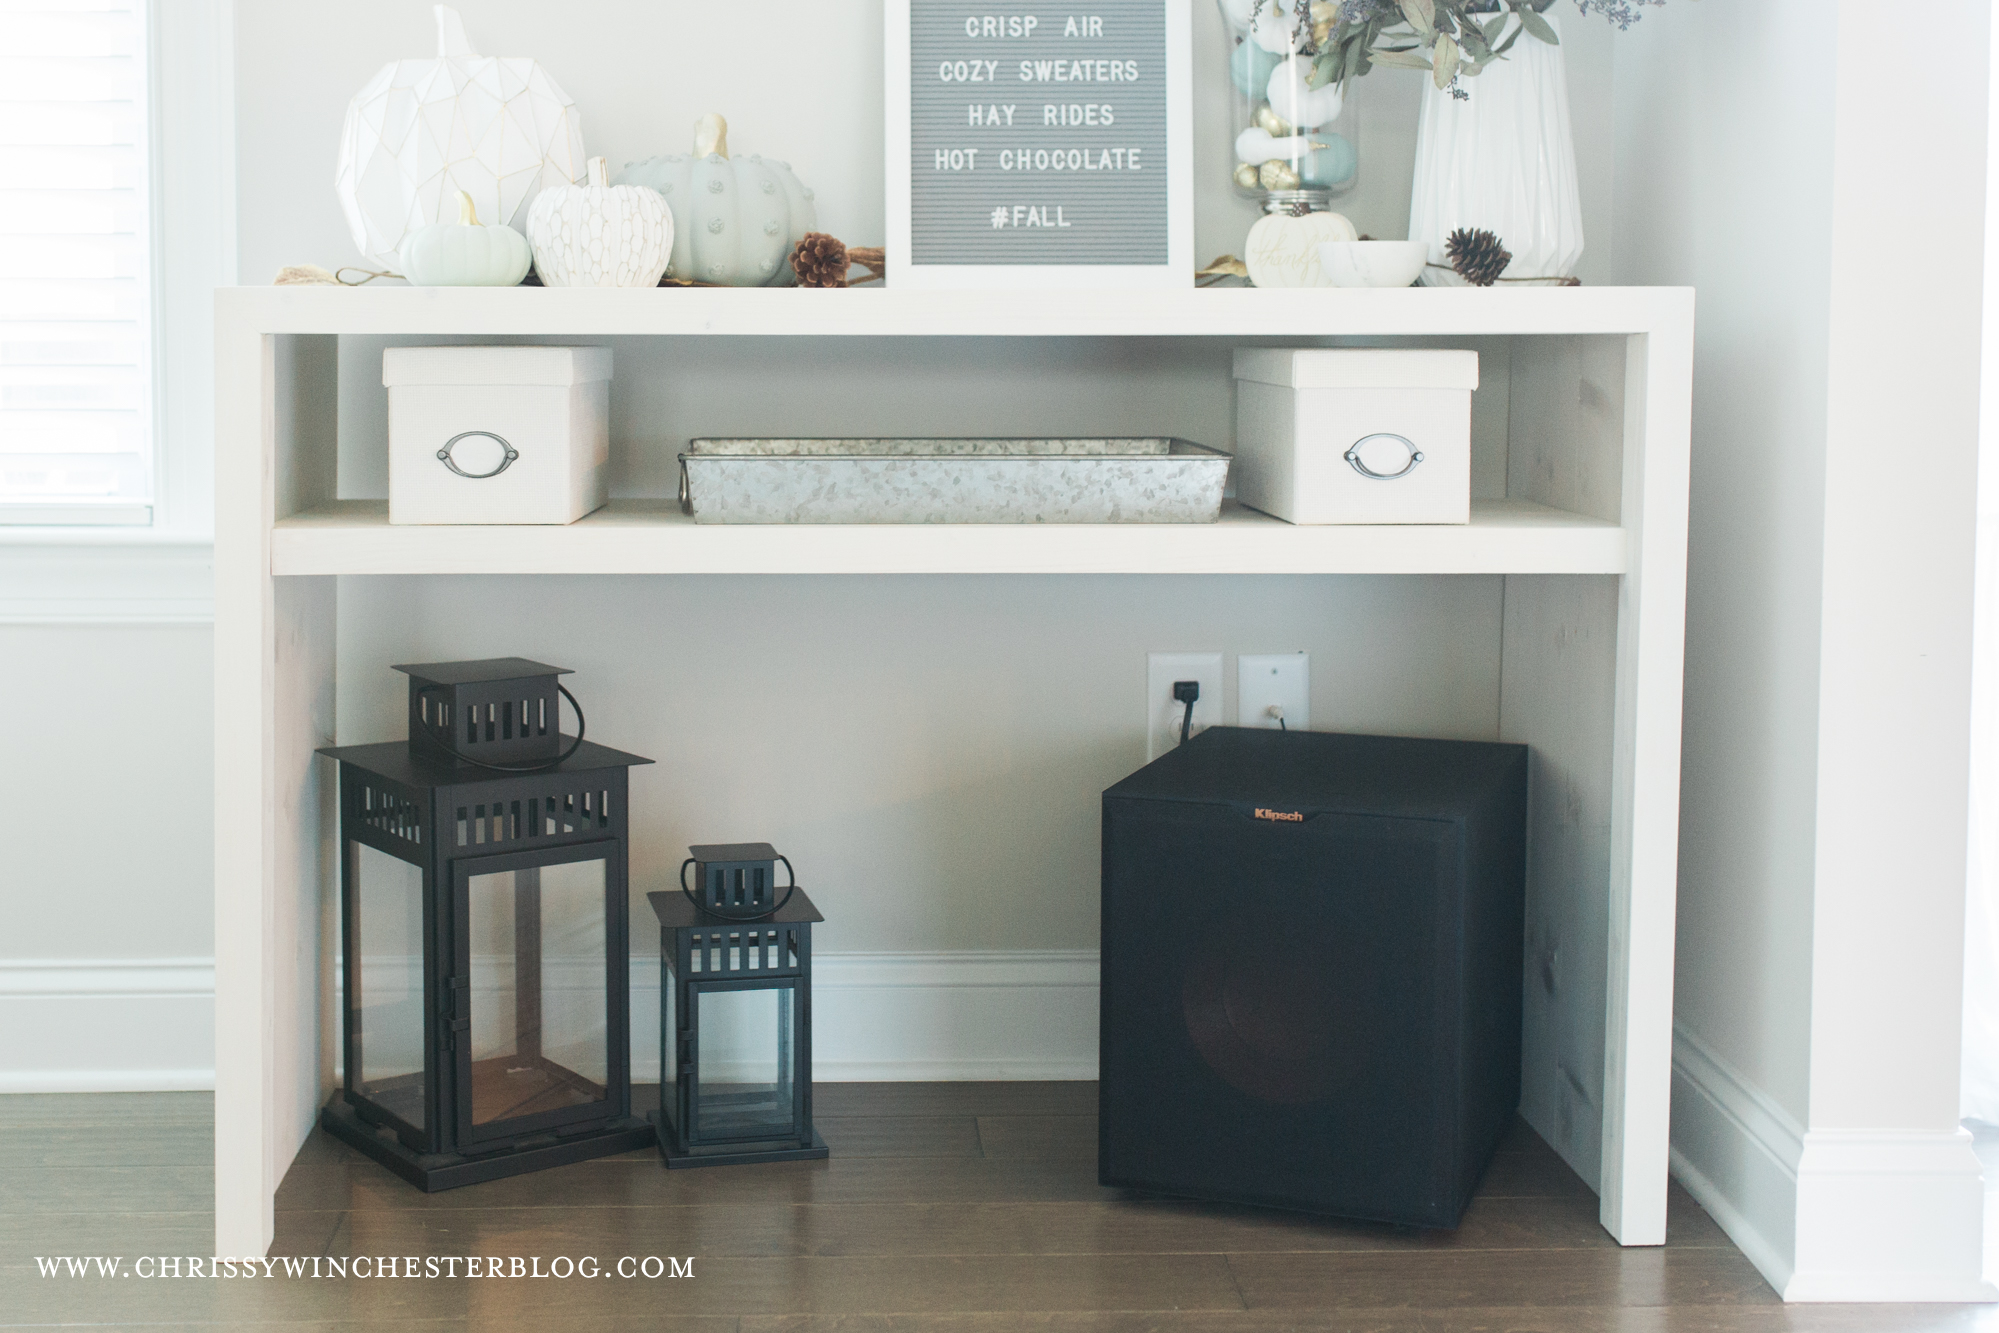
The feel of our house is, what I would call, Modern Farmhouse Chic. I’m not even sure that’s a thing, but our house includes touches of mid-century modern pieces, rustic farmhouse pieces and some more chic pieces, like fur stools. When on the search for a console table for one area in particular, I saw this stool from West Elm and I knew we could easily replicate it. I consulted with my woodworker hubby and he agreed.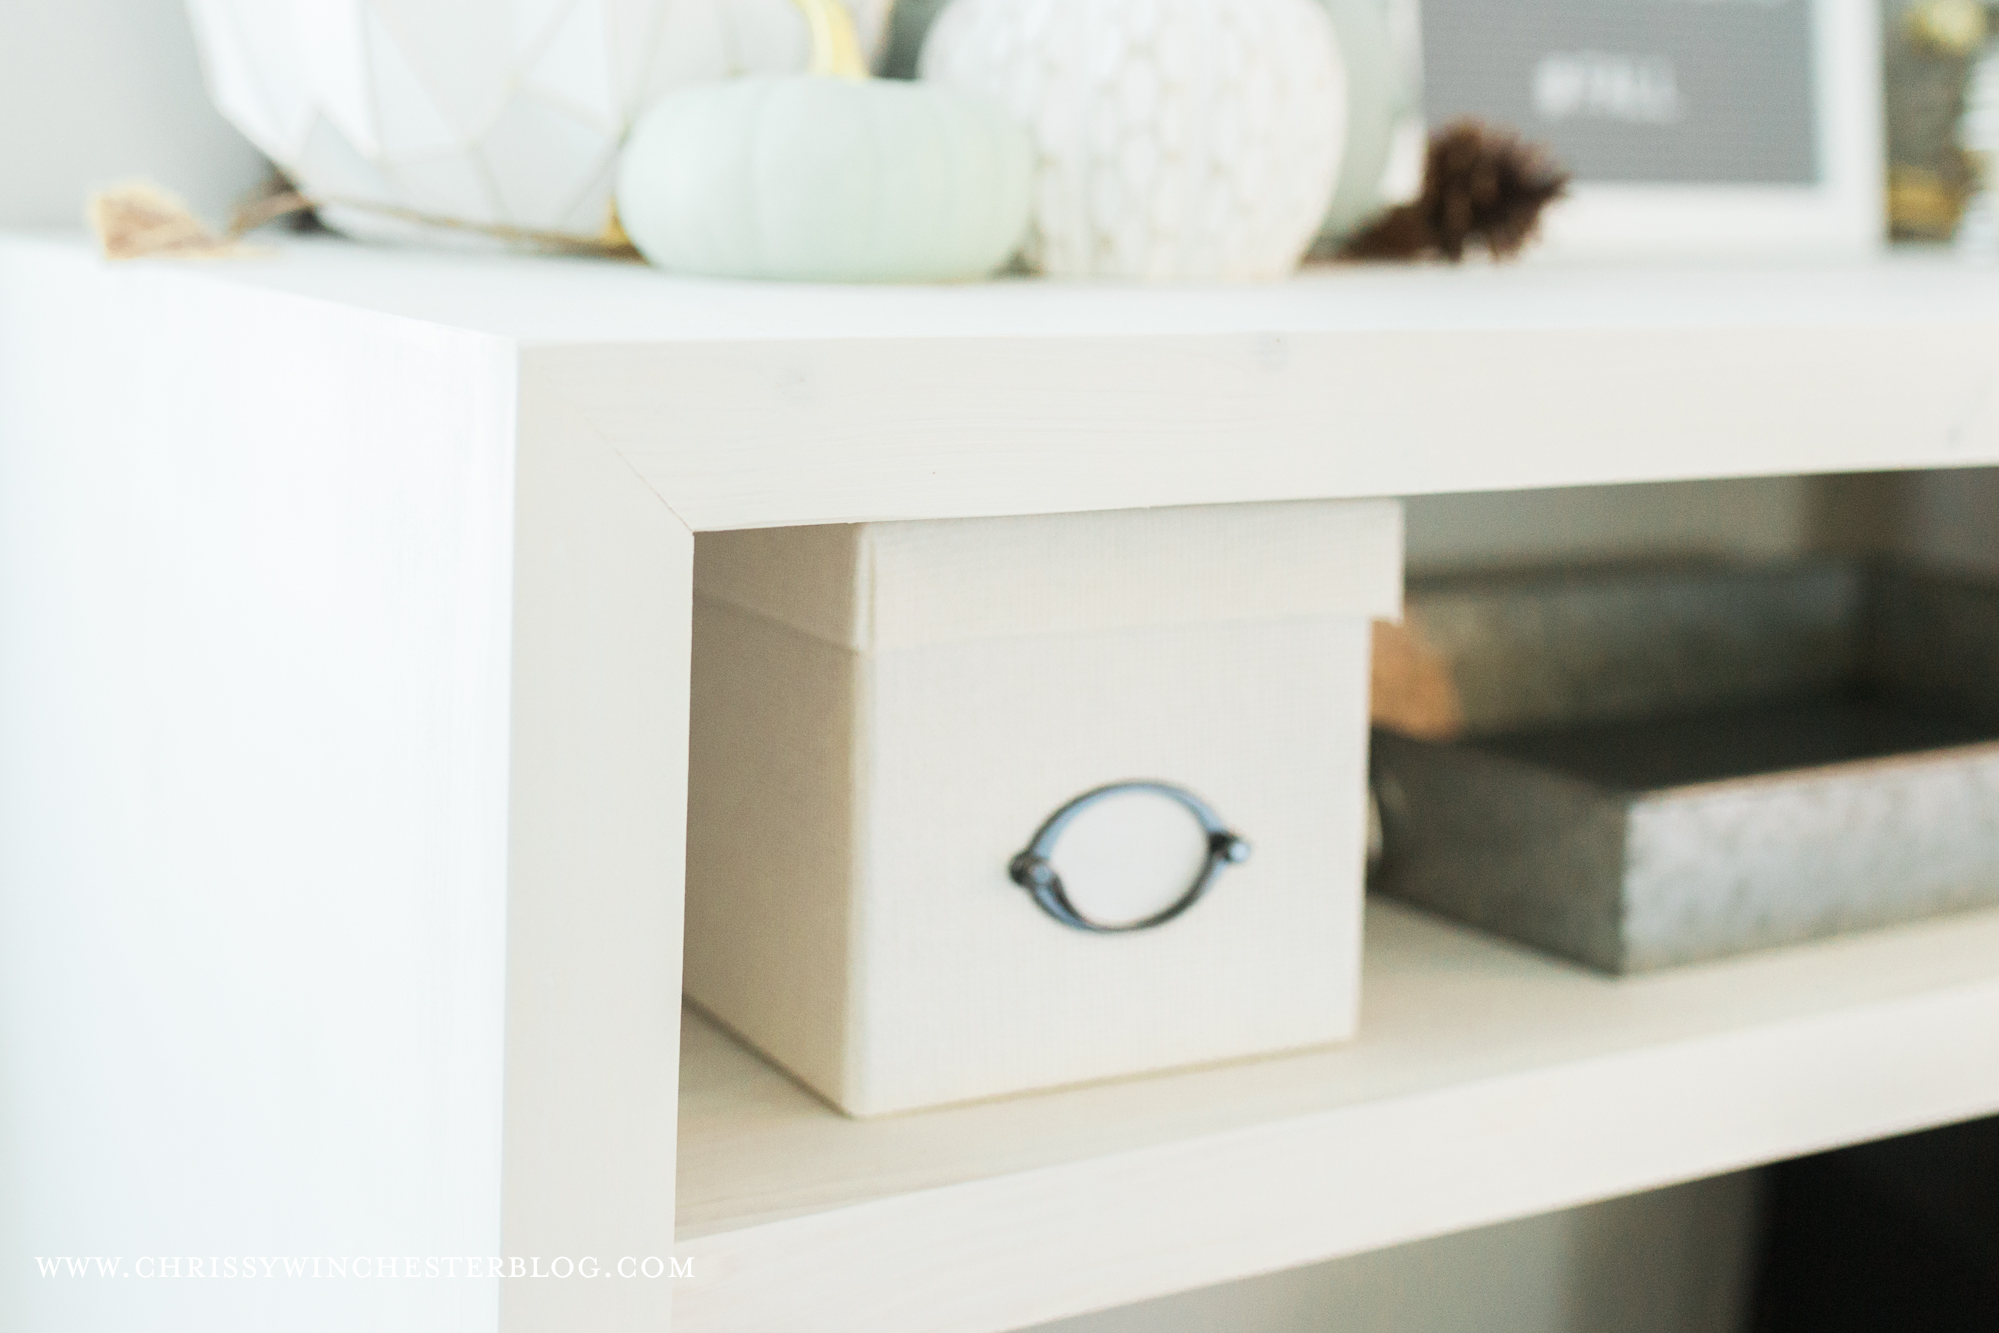
So, to the drawing board and Lowe’s we went! And saved, oh, about $500.
What you’ll need based on our current table:
(4) 2x10s
(4) 1x2s
Wood Filler
Here’s how we did it:
- Start off by figuring out what demensions you want for your table. Ours is 32″ high by 22″ deep by 46″ long.
- Cut all pieces you need for the middle part of the table. You’ll want to cut the pieces on an angle to make them join together nicely at the corner.
- Next you’ll join two 2x10s together for the top, as well as each leg. We used a keg jig to do this.
- After the top and leg pieces are joined, you can add the legs to the table top to assemble the table.
- After the middle part is assembled, you’ll move on to the trim pieces. We used 1x2s to trim the entire front face and back. You’ll want to angle these corners as well, then attach all pieces with a nail gun.
- I wanted to add a bit more bulk to the piece. As you can see in the one from West Elm, its actually a full-block table. By just trimming out the front and back, we were left with some space on the inside of the legs, so I added a 1×2 to finish it off. In reality, I would have done 1x2s along the entire inside of each leg, but hubby was done at that point, ha!
- After the table is assembled, you’ll need to wood fill all of the holes, then sand it down and paint it. We chose to white wash ours, so you can still see a bit of grain and it has a very matte finish.
Here is a smaller version we made using a very similar method: