


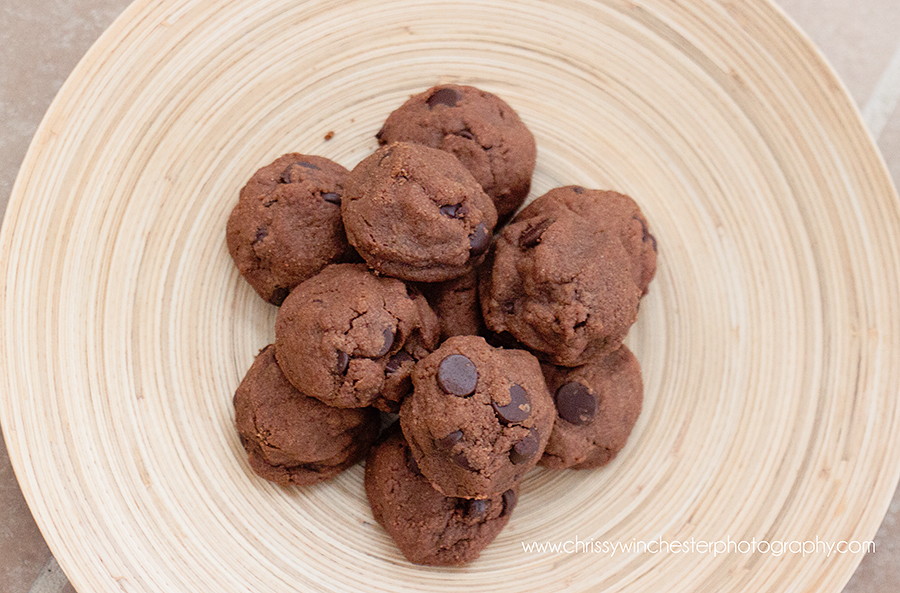
Hi Friends! So, I found this little recipe on Pinterest and decided to give it a try! The ooey, gooeyness of the recipe is what attracted me! I love under-baked cookies that melt in your mouth 🙂 Unfortunately, my version were not nearly as ooey and gooey as the original listed below. But they still tasted amazing! I’m not sure if it was the substitution of flaxseed meal, or the different ratios of nutella and peanut butter that made the difference, but my recipe, at the bottom of this page, yields cookies that retain their shape and come out soft, but not gooey.
The original recipe is from Averie Cooks. When I was gathering all of my recipes, I realized I didn’t have an egg. Since I use eggs in pancakes as a substitute for eggs, I figured I would give it a try in cookies! I also tweaked the original recipe a bit, because I’m not a HUGE fan of Nutella being the star ingredient!

YIELD: 18 cookies
PREP TIME: 10 minutes
COOK TIME: 10 minutes
TOTAL TIME: 20 minutes
INGREDIENTS:
- 1 Tbsp flaxseed meal mixed with 3 Tbps water (let sit for a few minutes)
- 1/2 cup Nutella
- 1/2 cup creamy peanut butter (do not use natural or homemade, it’s too runny and cookies could spread)
- 1/2 cup light brown sugar, packed
- 1 tablespoon vanilla extract
- 1/2 cup all-purpose flour
- 1 teaspoon baking soda
- 1 (1ooz) bag dark chocolate chips
DIRECTIONS:
- Combine the flaxseed meal, Nutella, peanut butter, brown sugar, vanilla, and beat on high power to cream ingredients, about 5 minutes. Stop and scrape down the sides of the bowl as necessary. The dough will go from very granular, gritty, and loose to smooth, oily, and well-formed in a large mound. If your dough has not come together or is at all gritty, continue to mix until it smooths out.
- Add the flour and baking soda, beat to incorporate. Dough will not look like normal cookie dough and will be tiny balls and flakes that seem almost feathery in the bowl. This is okay. Stir in the chocolate chips.
- Using a medium cookie scoop (about 2 tablespoons) or your hands, scoop out dough and place on a large plate. Using your hands, gently squeeze and compact each mound so that it’s tightly packed together. Dough will be both crumbly and oily, but when squeezed, it should stay together. Cover plate with plasticwrap and refrigerate dough for at least 2 hours, up to 5 days, before baking.
- Preheat oven to 350F, line 2 baking sheets with baking mats, or parchment paper parchment, or spray with cooking spray; set aside.
- Space dough 1 inches apart and bake for 8 to 9 minutes, or until top have just set, even if slightly underbaked in the center. It’s difficult to discern if they’re done or not because they’re dark, but watch them very closely and don’t overbake. Cookies firm up as they cool, and baking too long will result in cookies that set up too crisp and hard.
- Allow cookies to cool on the baking sheet for about 10 minutes before removing and transferring to a rack to finish cooling. Store cookies in an airtight container at room temperature for up to 1 week, or in the freezer for up to 3 months. Alternatively, unbaked cookie dough can be stored in an airtight container in the refrigerator for up to 5 days, so consider baking only as many cookies as desired and save the remaining dough to be baked in the future when desired.
