Ready to chat wahm life, tried and true recipes, DIY projects, mom life, pretty decor, all things kids, mom style, organization, favorite finds and whatever else pops into my mind? Dive in friend! 

explore

welcome to my

little space on the web

recipes

favorites

DIY

books

DIY, Home

November 9, 2011

Dresser DIY

So if you recall back a month or two ago, I shared with you the before pictures of our living room and said I would share with you in an upcoming post the dresser that we remade. Well, here it is! The living room, by the way, is almost complete… hopefully by the end of the year it will be all done. It has been quite the project!
Please forgive the photos. They were taken with our cell phones and this one was snapped randomly when I realized I didn’t have any pictures of the “before” product.

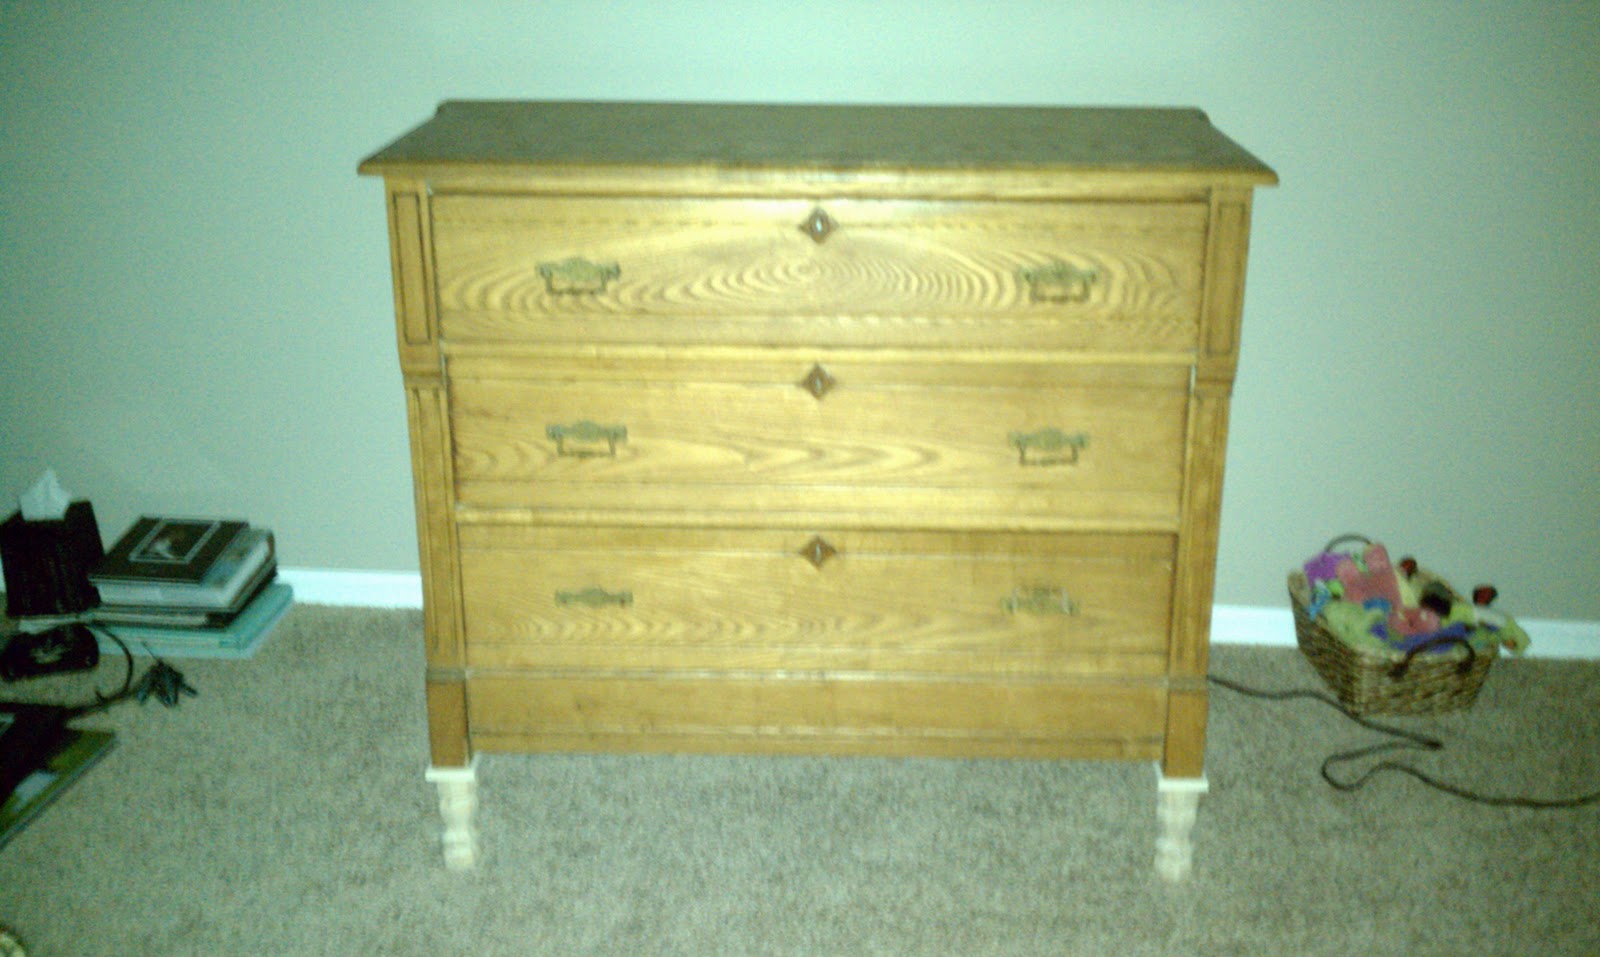
There is a great little consignment shop on the way home from work called Phantastic Phinds, in Glenside. We’ve gotten many other finds here as well. We picked up this dresser for $90- gotta love a deal! It wasn’t in the best condition, but that doesn’t matter because we were re-doing it anyway!

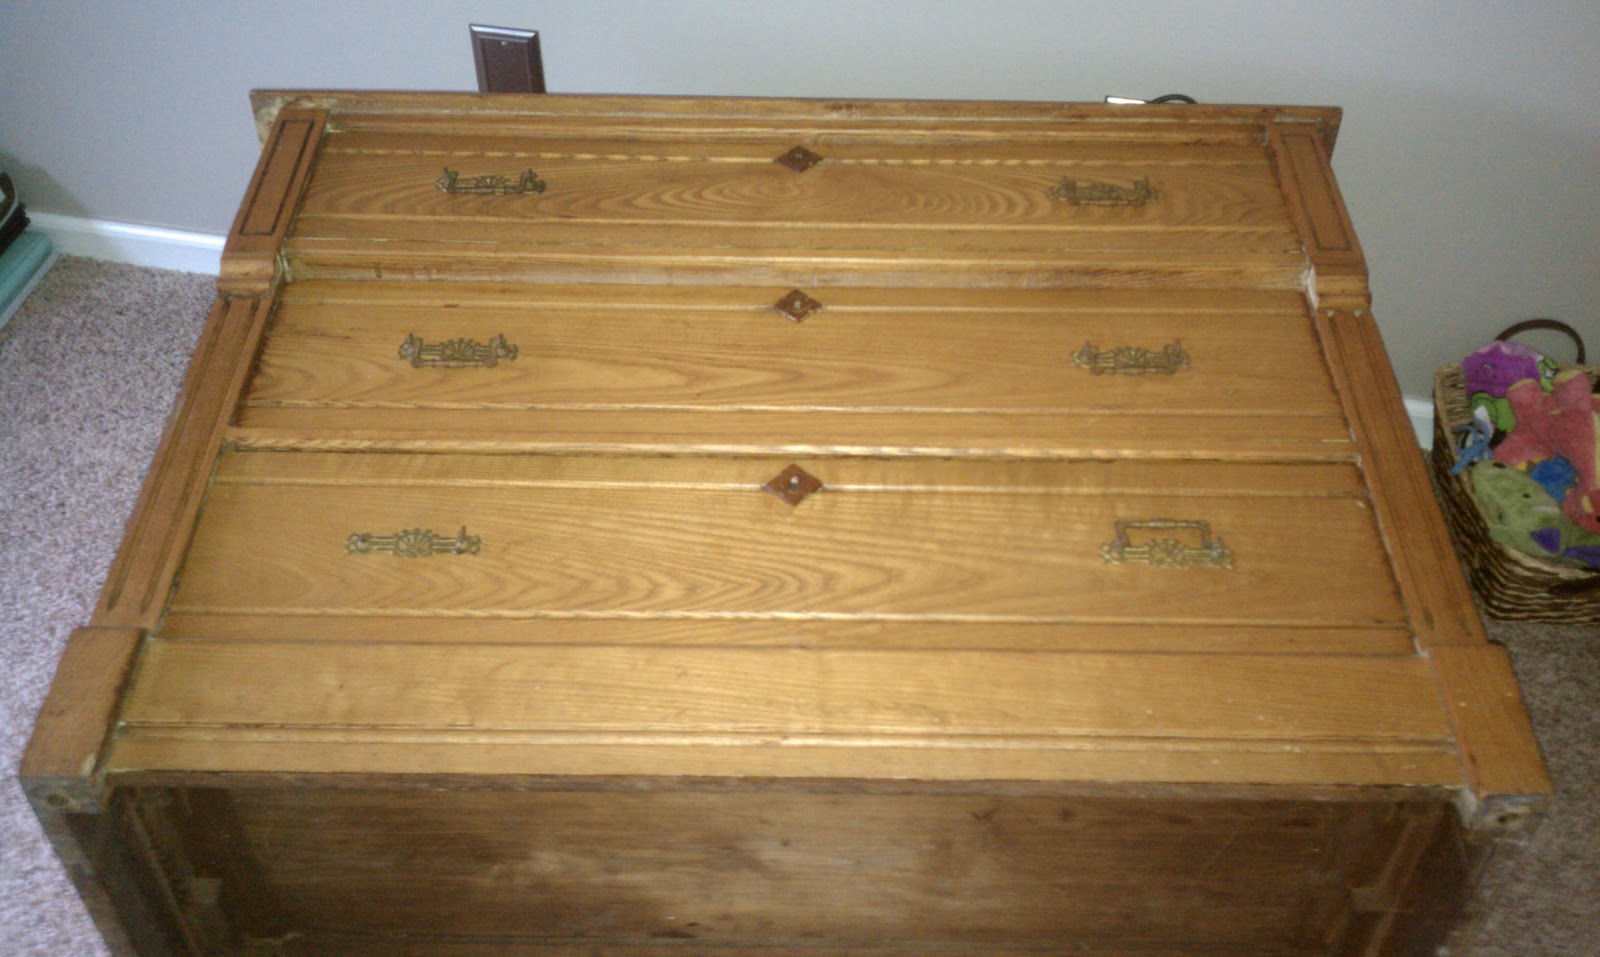
Step 1: Take off hardware.

Step 2: Sand the ENTIRE piece (you’ll find some good sanders on this website). I’m convinced the best invention in the world was a palm sander and that was super helpful in this step.

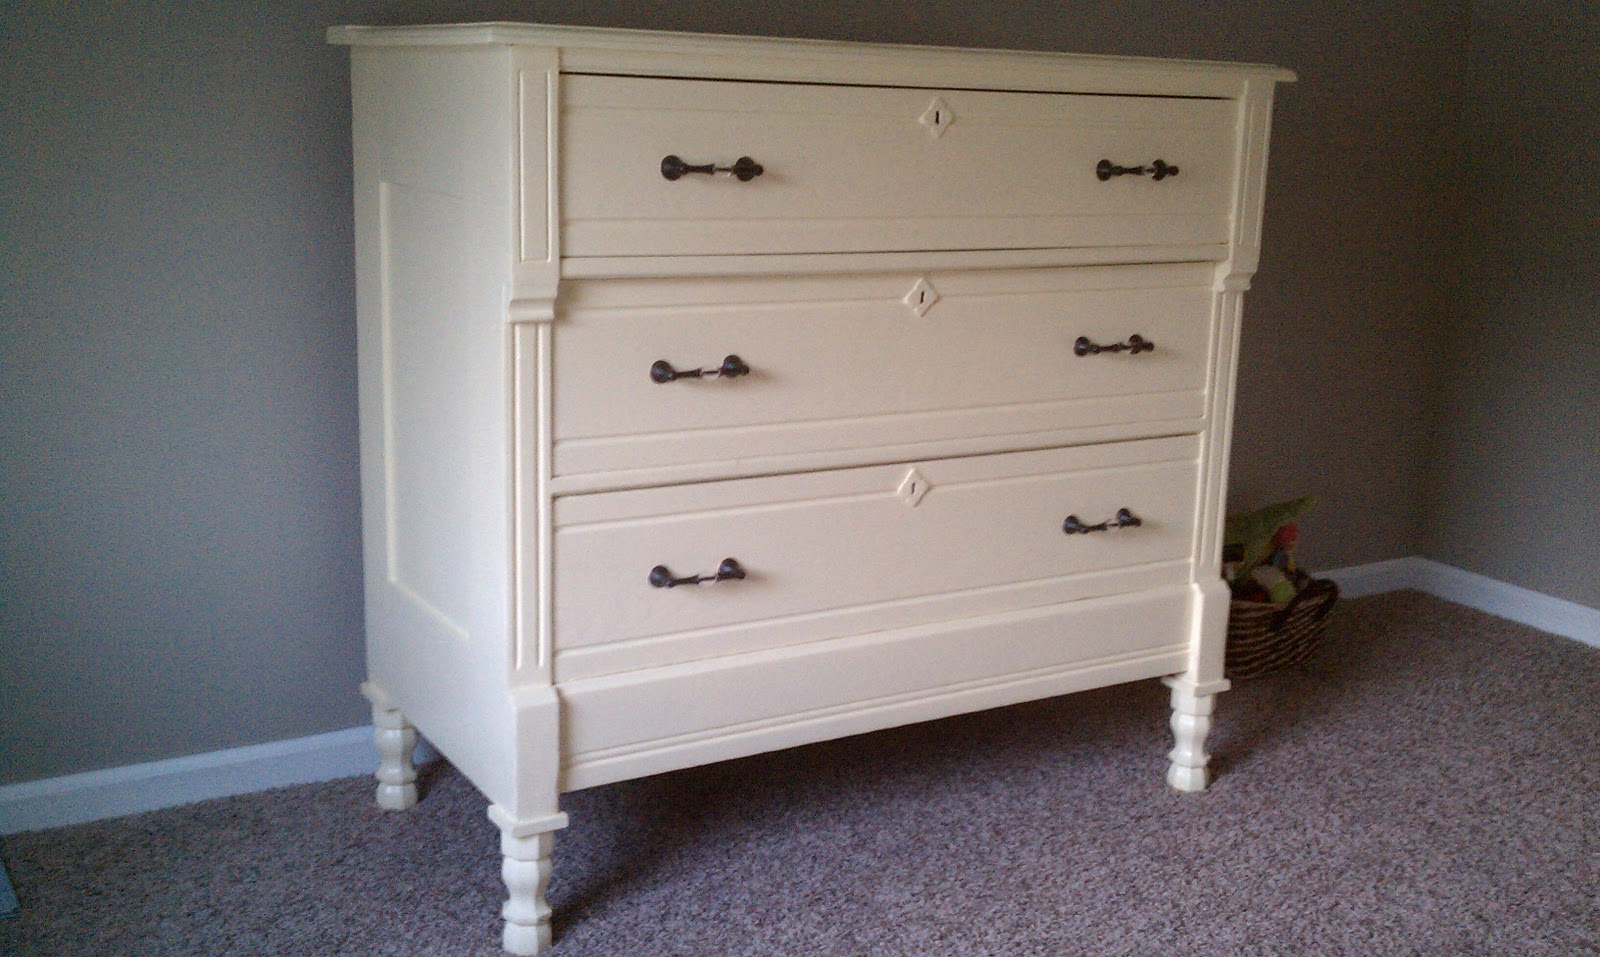
The next step was to find feet… that was tricky. We ended up buying cheapies at Lowe’s and made them look more like the piece by adding a thin square between the base of the dresser and the newly bought legs.

Step 3: Add any additional pieces. (see legs)
*After this step you can choose to paint the piece with an oil-based primer to prevent the wood from seeping any sap through the paint. I did not do this step with this particular piece.

Step 4: Paint! And add hardware.
Sounds easy with just four steps right? It took us a couple of days to complete. Especially when you let the paint dry. However, it is SO very rewarding to take something that’s neglected and not so great, and turn it into something gorgeous (if I do say so myself) and fresh!
I hope you’re all inspired to go scour your local thrift and consignment shops for some neglected pieces to turn into your own!

Leave a Reply

Your email address will not be published. Required fields are marked *