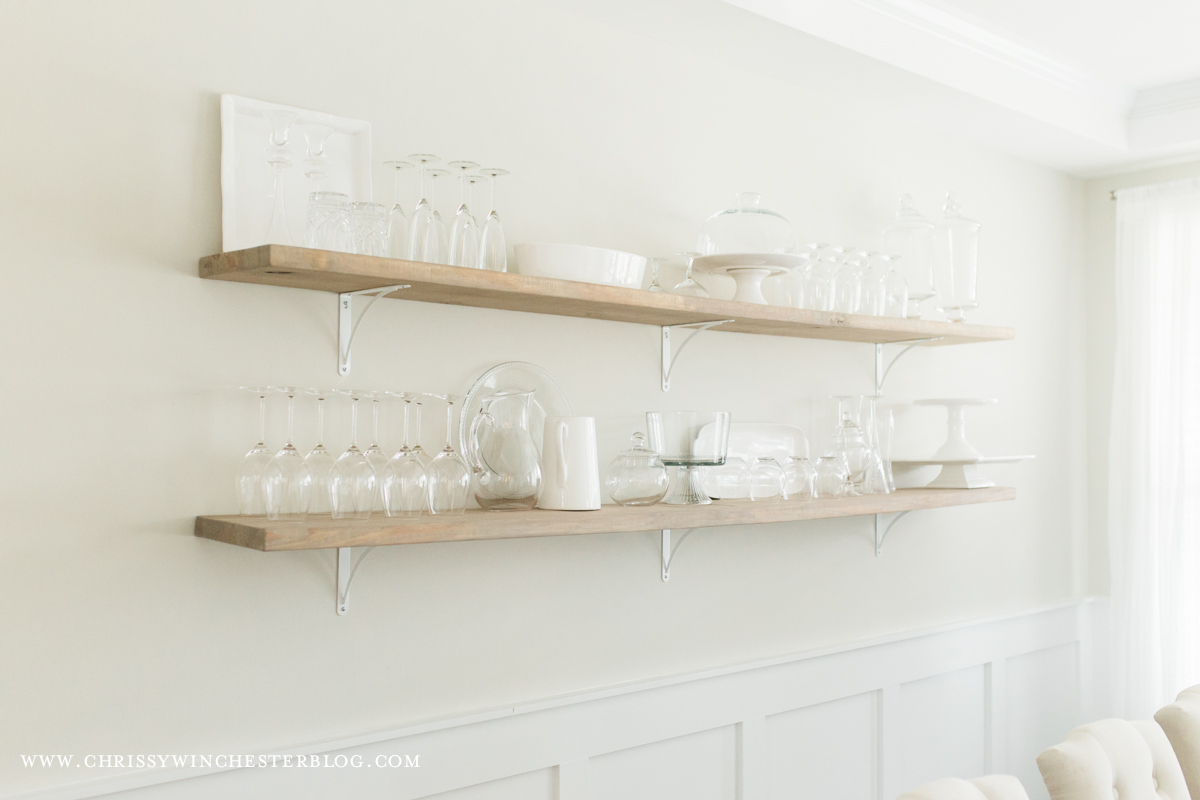
If I had my way, our kitchen would have open shelving. With a semi-custom building, that was not an option. We could, of course, yank out the cabinets we’d already paid for and were installed and risk ruining the drywall, but at the end of the day, we decided it wasn’t worth it.
I knew I wanted open shelving somewhere in the house, but, where, was the question.

We had a family piece that used to house most of the items on these shelves. It kind of matched in our old house. When we moved into our new house, I didn’t have any intentions of keeping it. Then we got in here, and it was just easier to put everything back where it came from. I pondered over it for a bit and thought maybe I would paint it white so it would go better…
Well, one project led to another and I knew it would never get done, it wasn’t ultimately what I wanted for that space and that it may not even survive the rehab- it’s super old and somewhat wobbly.
So, on a whim (as usual) I decided to send my hubby to Lowes Home Improvement to get the materials! This, unlike most projects we think are going to quick and easy, really was a quick and easy project and I think it makes a BIG impact! I am so in love with them…. now, if I could just find an easy way to dust, ha!
What we used:
(2) 2x12s
(6) Brackets
Wall Anchors
Screws
What you need to do:
-
- Cut the boards if they aren’t to your desired length. Ours are simply an 8′ board. So, no cutting required.
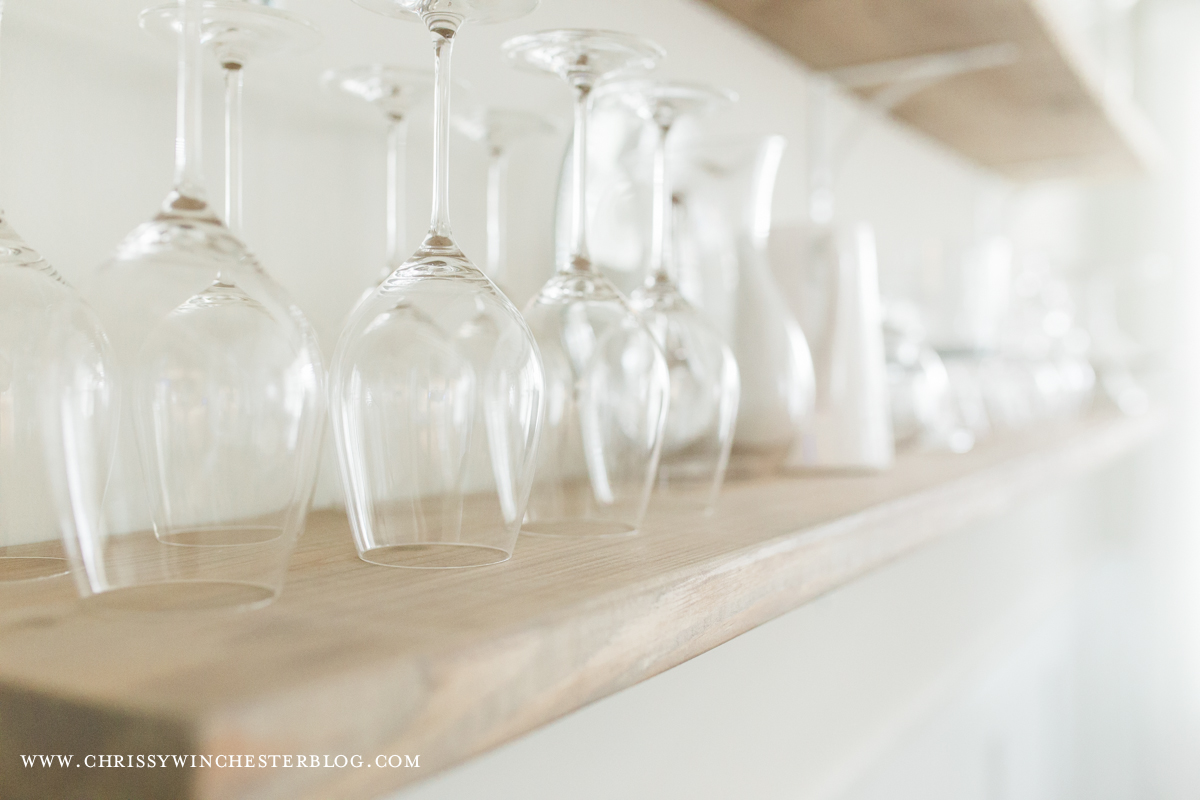
- Stain your boards- I had to mix three different stains to achieve this color:
(2) Part Rust-Oleum Ultimate Wood Stain, Dark Walnut
(3) Part Minwax Wood Finish Penetrating Stain, Natural
(1) Part Minwax Wood Finish Penetrating Stain, Weathered Oak
3. Attach brackets to wall, using anchors.
4. Place board on top of brackets and secure to brackets.


SaveSave
SaveSave
SaveSave
SaveSave