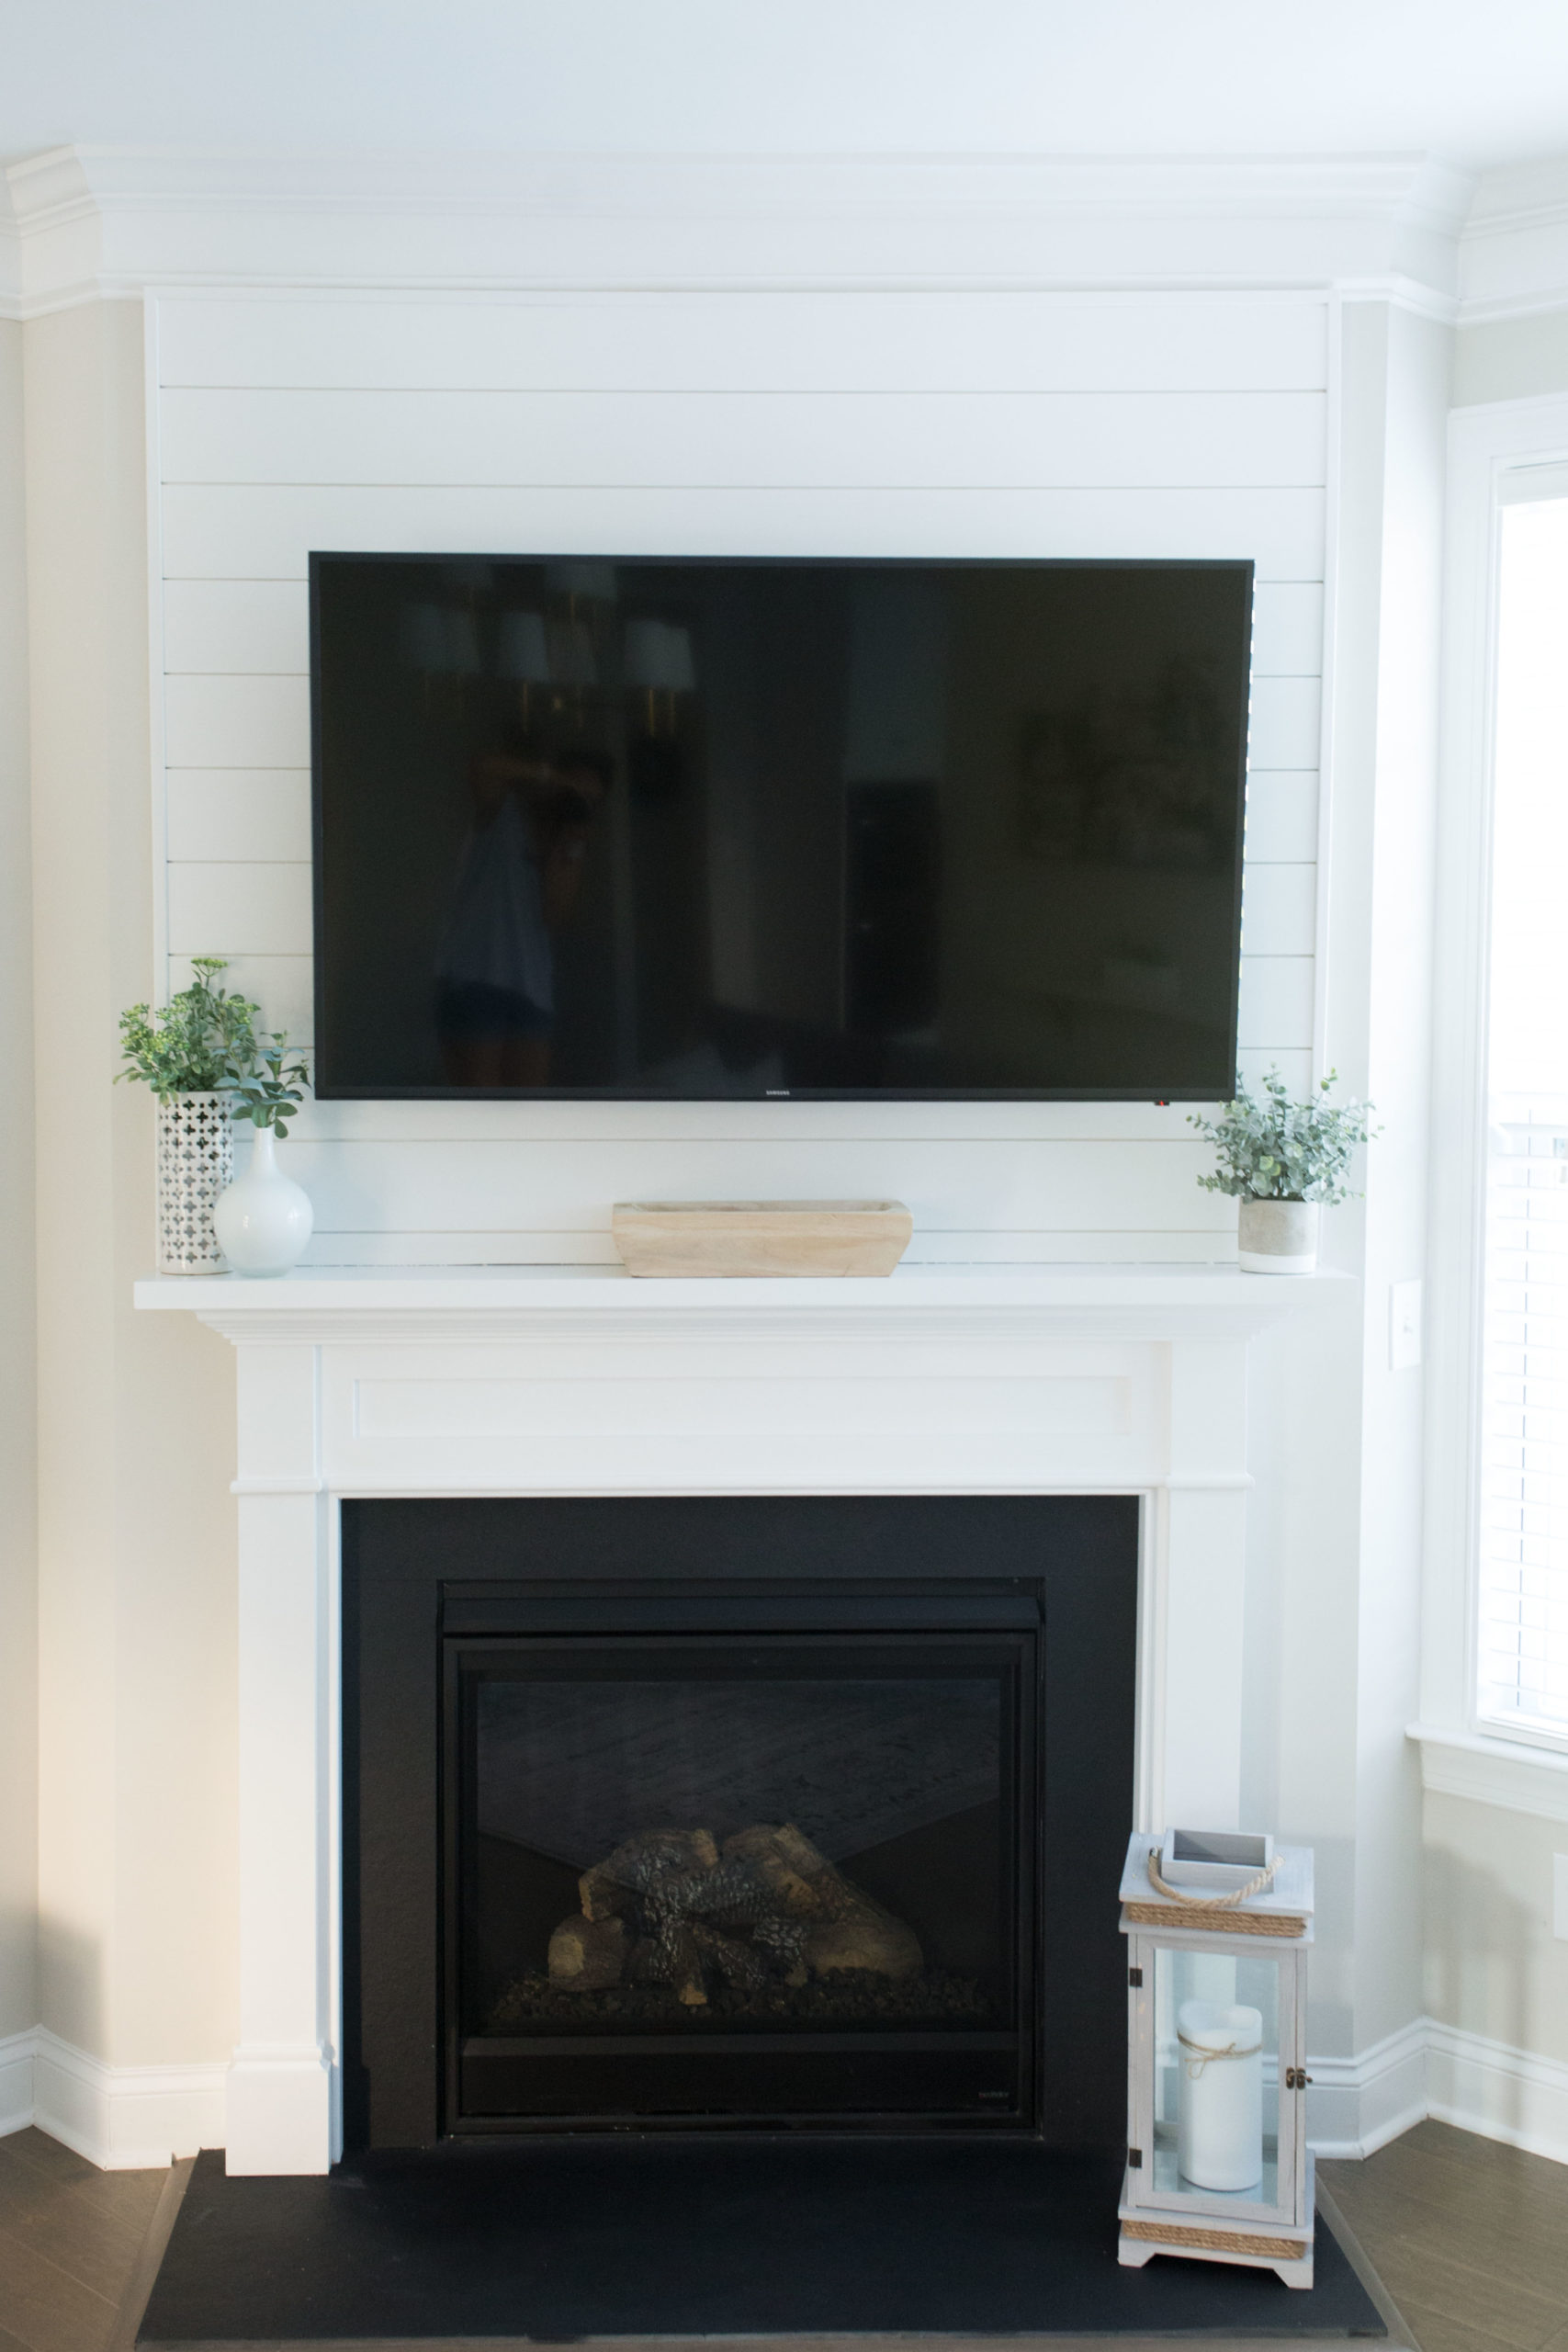
We had quite a lot of shiplap pieces leftover from another project we did in the house (reveal coming soon). I wasn’t sure what or where I wanted to use it, but I did know one thing- it was not going to waste!
FYI- We still need to caulk everything… long story, but we realized our caulk gun was broken the night before this post was supposed to go live… and my husband ended up with an injured finger in the process… so un-caulked photos you get #reallife.
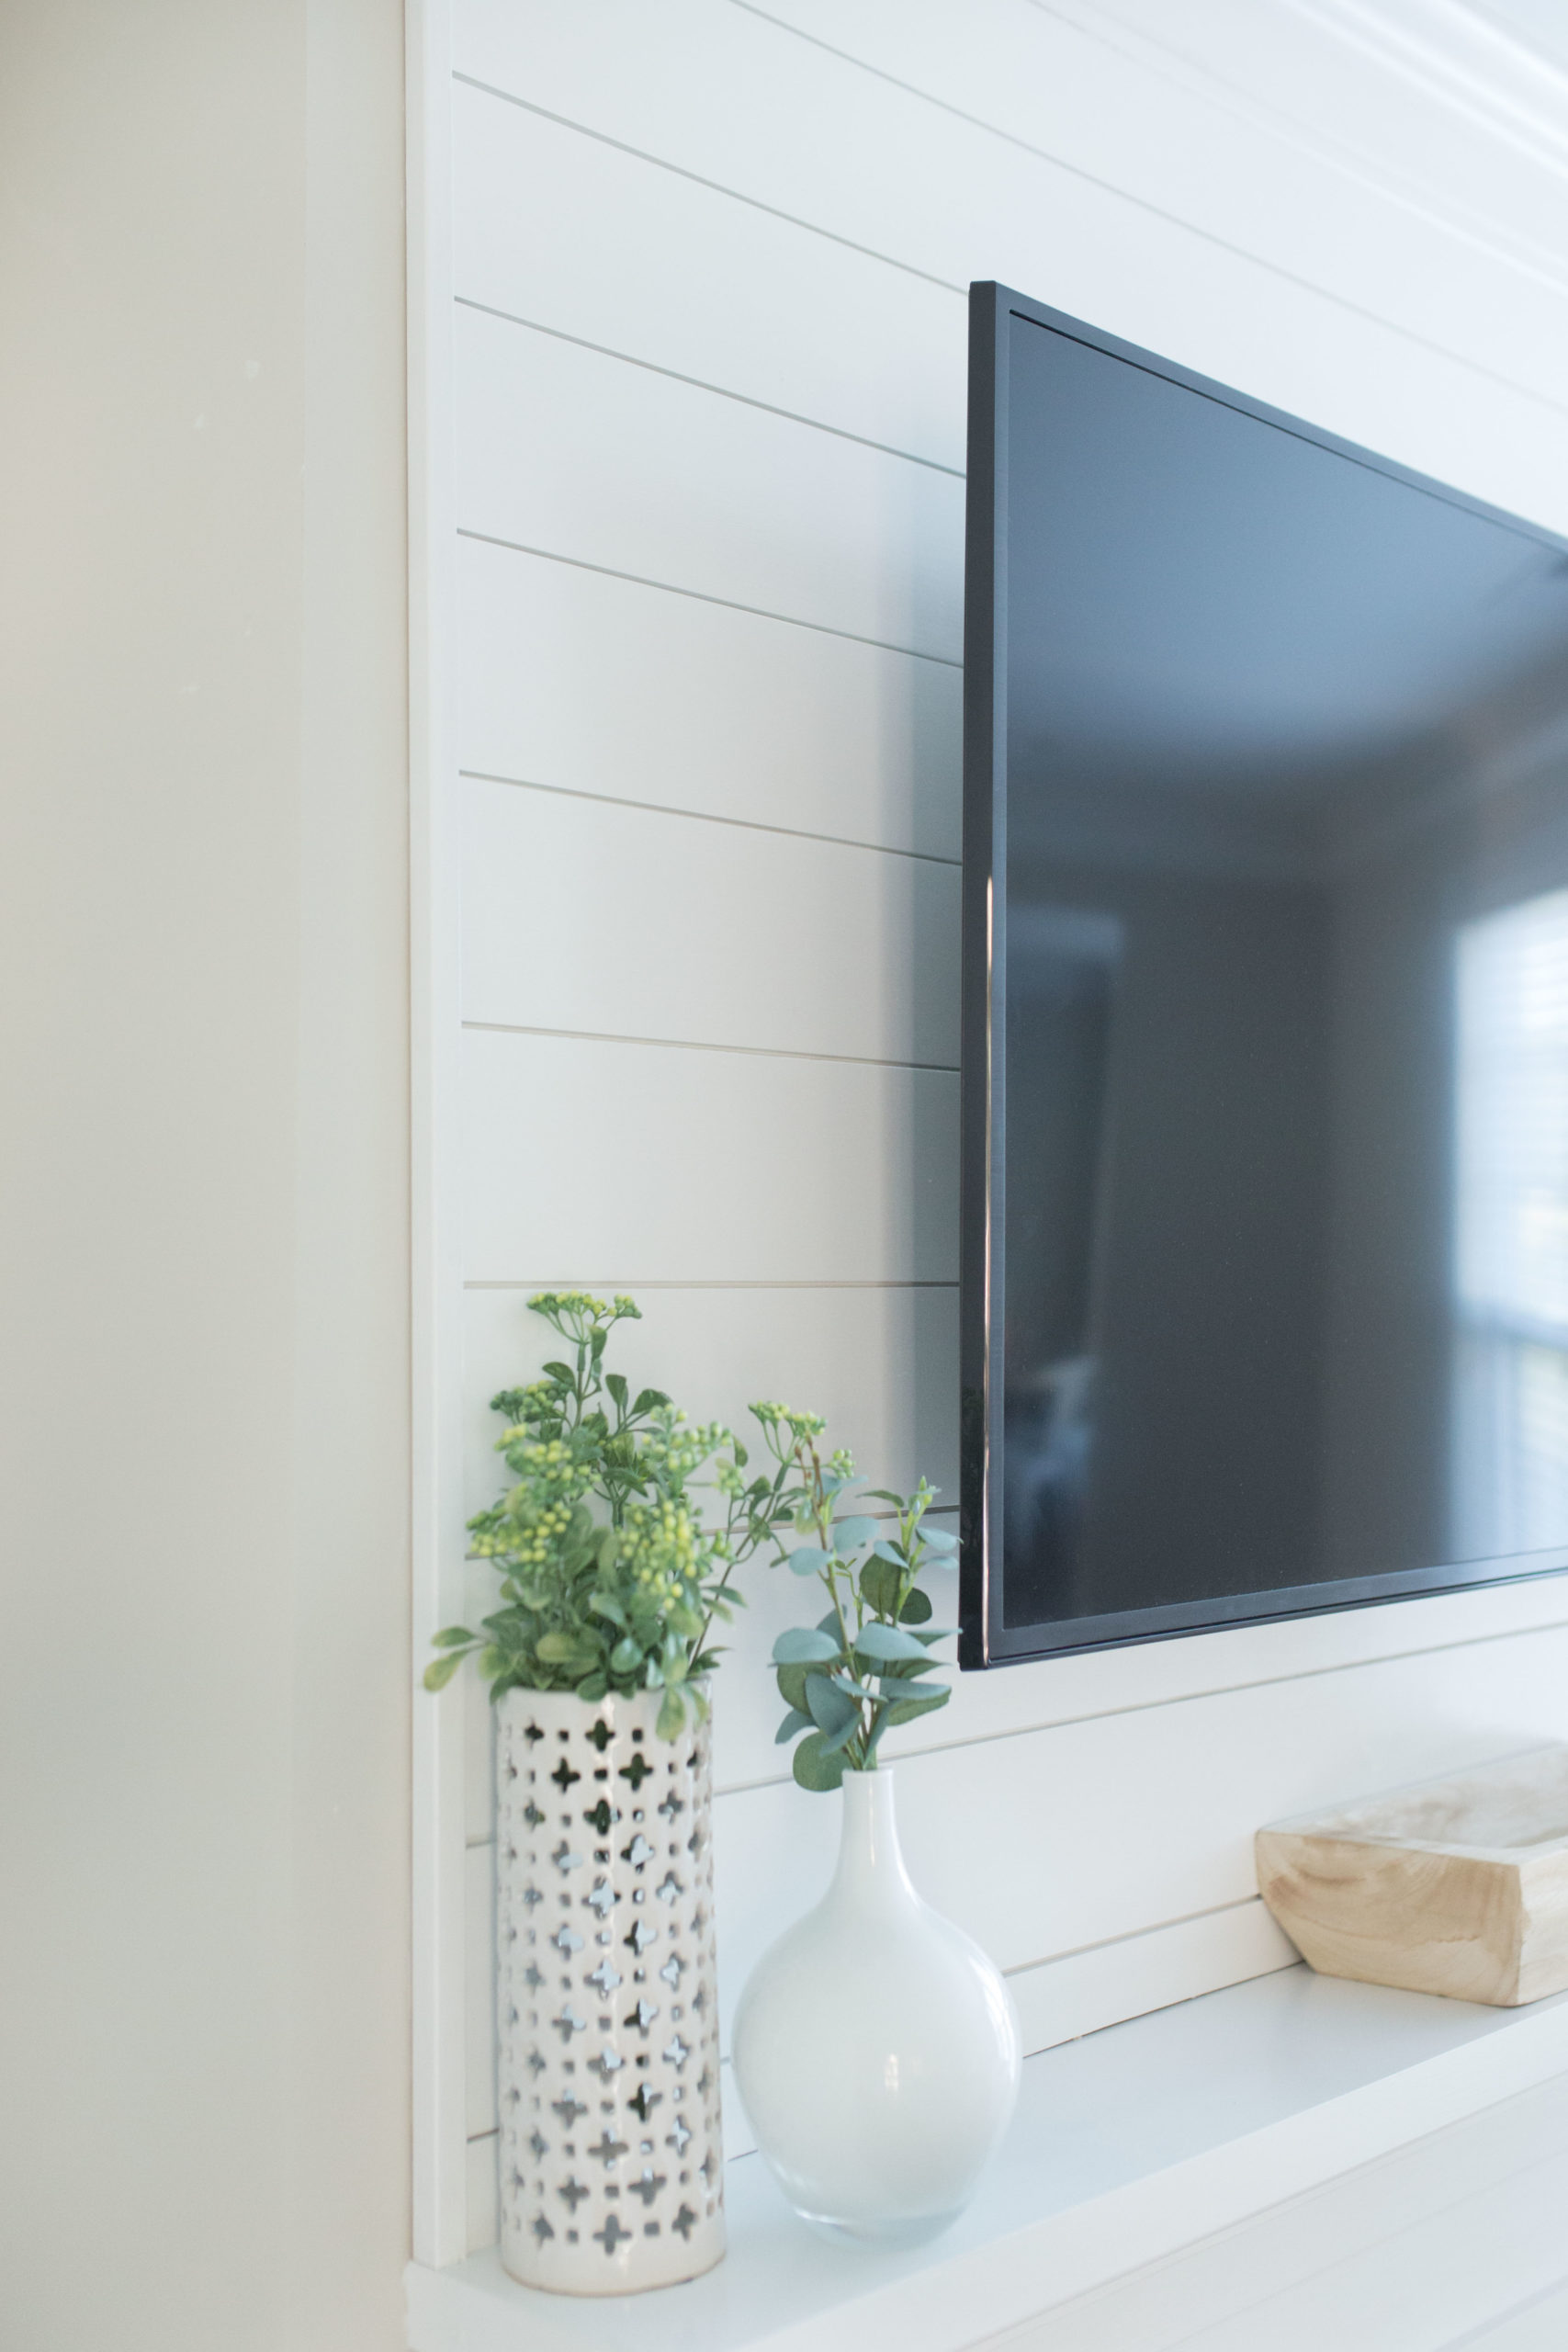
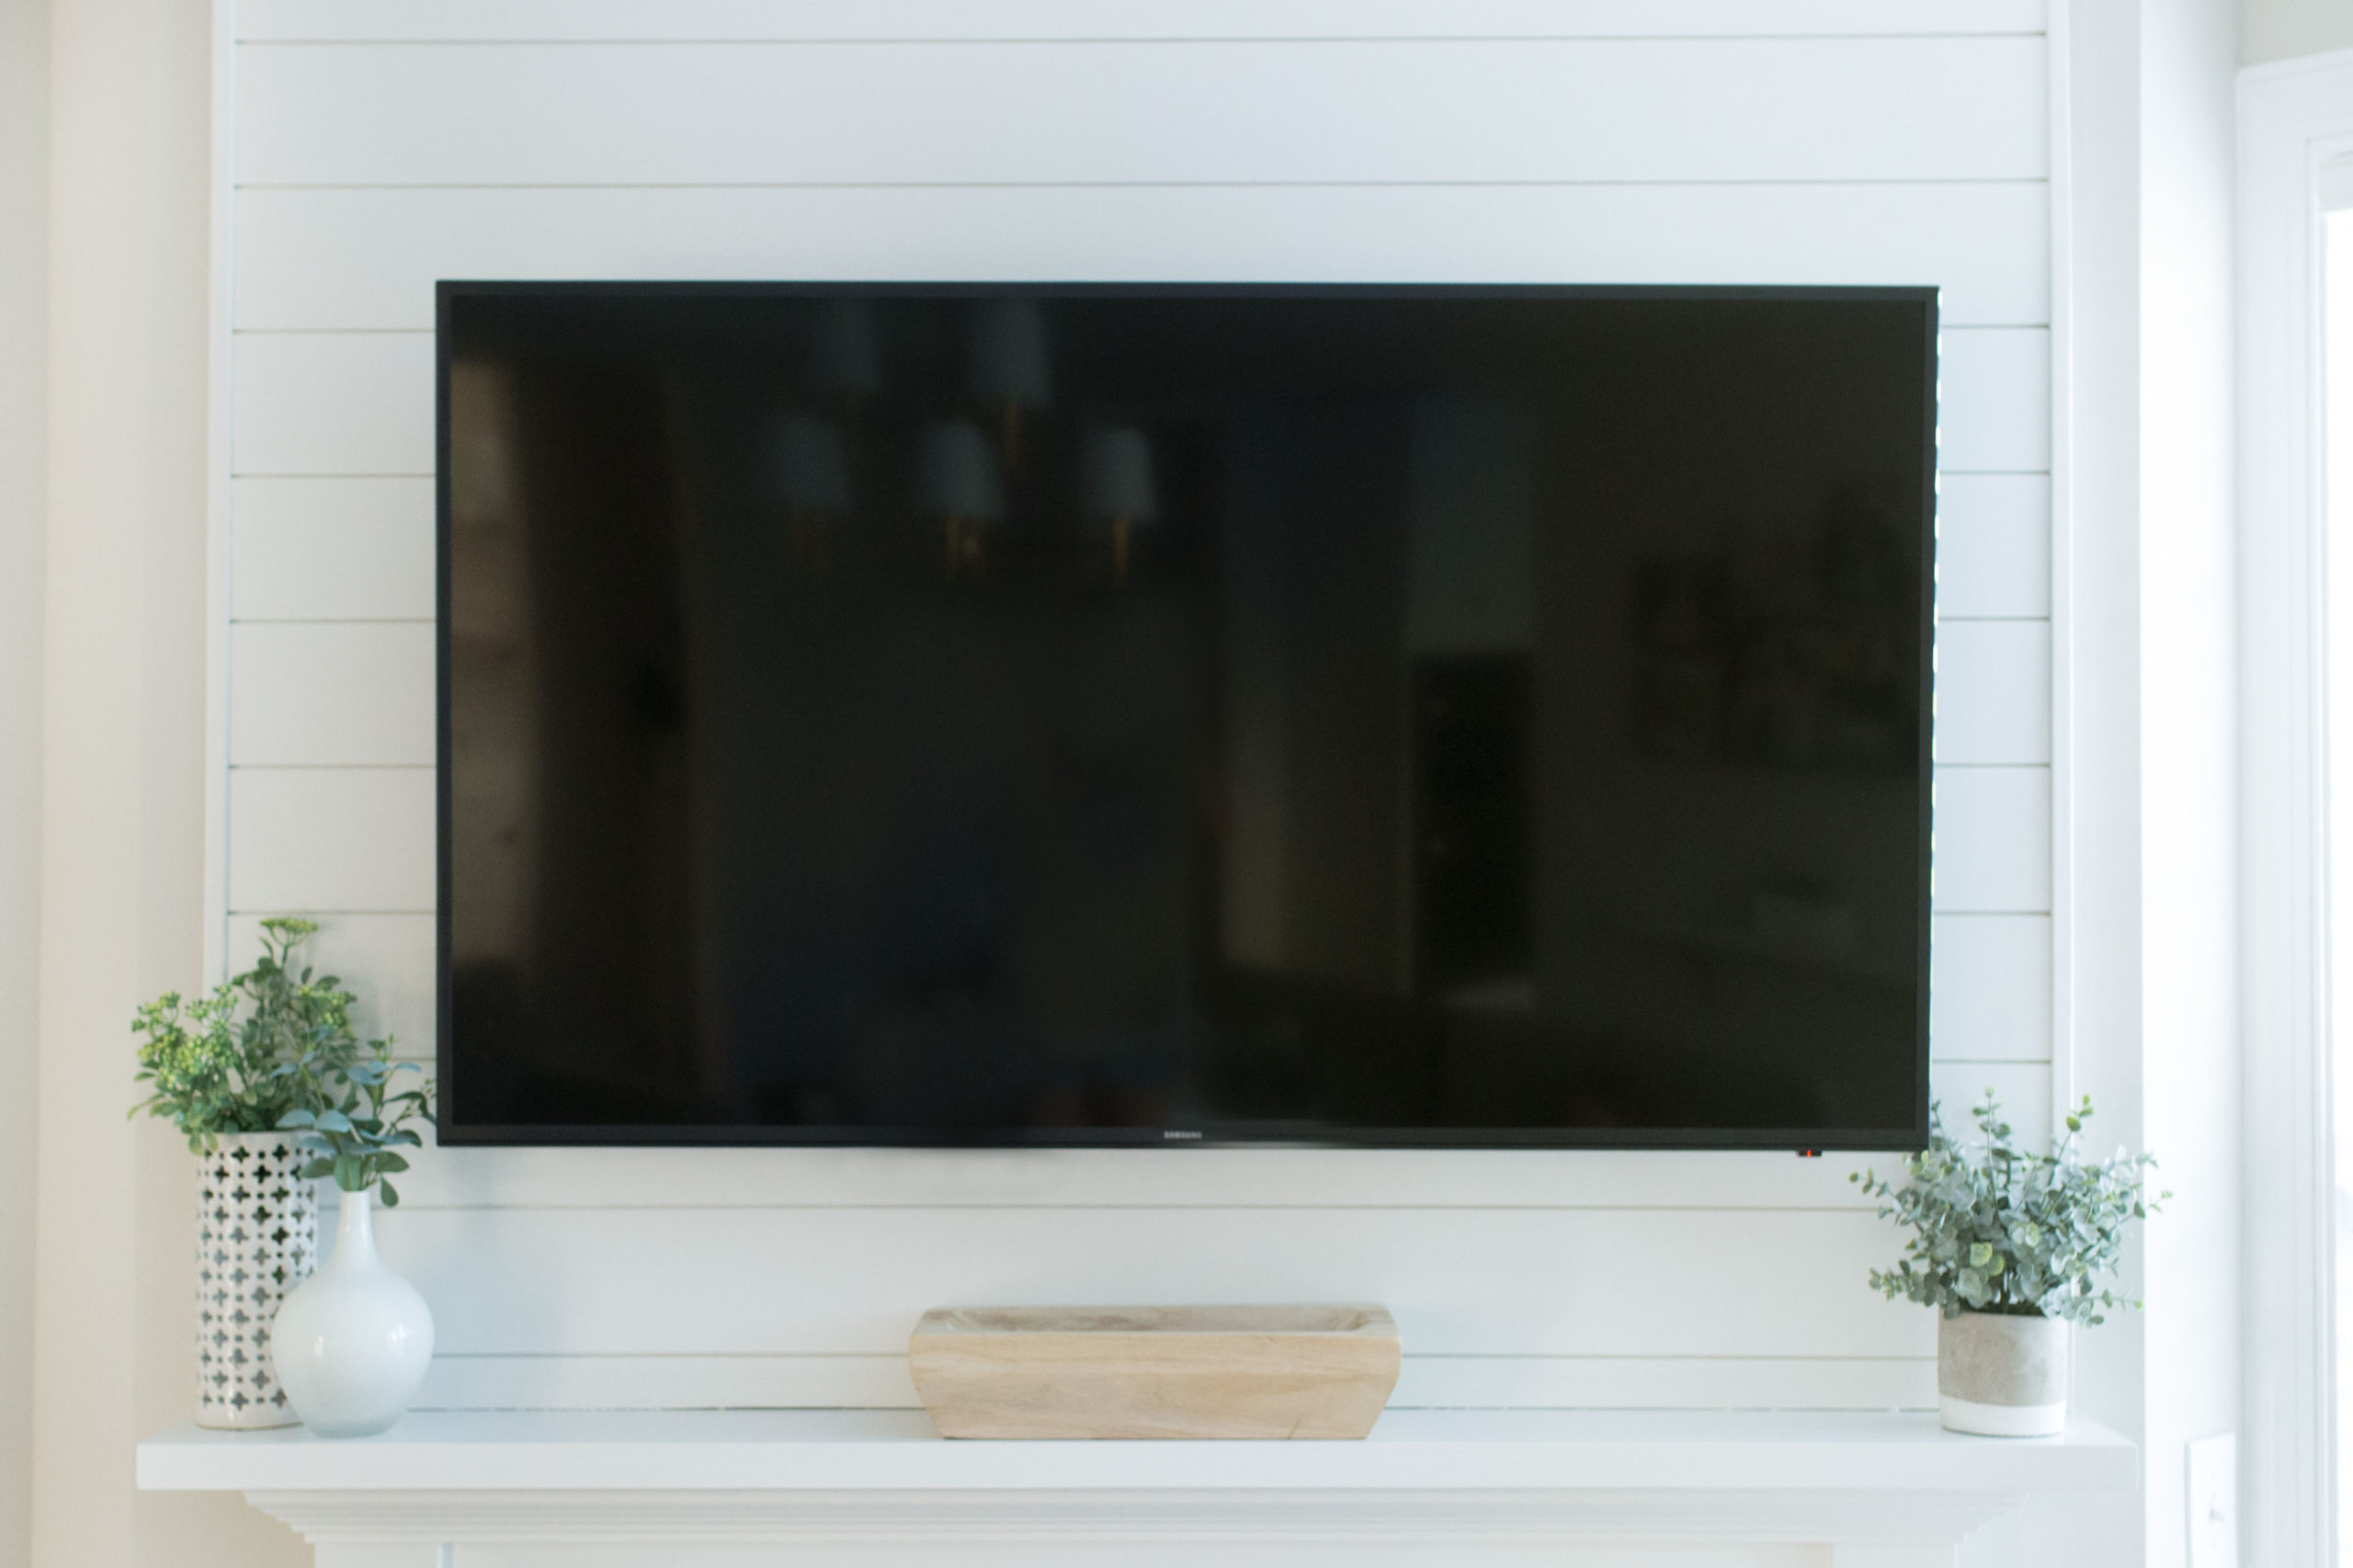 We had the idea of doing something above our fireplace, because our ceilings are very high, and the TV had to stay lower, so we weren’t sitting with our heads cranked back to watch the TV! We had to get just a few more pieces of shiplap to add to our stash to make it happen, and luckily they are fairly well priced at your local hardware stores (Lowes is where we got ours).
 The project is fairly easy and the shiplap panels you can get at the store make it that much easier!
What you need:
Shiplap Panels (we got white, plus painted them to match the trim)
Wood Glue
Nail Gun
Measuring Tape
Saw
How:
- Measure the area to determine how long the panels need to be.
- Cut panels- we did a few at a time to make sure everything fit.
- Put wood glue on the back of each panel and place on the wall, one by one. Use nail gun to secure them to the wall.
- Continue placing the panels until you’re done.
- Add corner trim around the top and two sides with nail gun.